Follow the steps below to connect Eightfold with Crosschq:
Enable the Eightfold integration
Search for the Eightfold connector from Organization Settings > Connectors. Click Manage from the Eightfold section.

Enable the Eightfold connector by selecting the toggle on the right. The toggle should be green.

Configure API settings
Generate API key
The Eightfold API key allows Crosschq to interact with your ATS data (for example, pulling the candidate's recruiter into reference requests).
To generate the API key, navigate to More and click on Admin Console.

Click on Integrations and then Eightfold API. Finally, click Generate API Key.

In the subsequent popup window, you'll be shown the API Key and the credentials for two Authentication Methods: Auth Basic and OAuth. This information will only be exposed this one time, so make sure it is stored in a secure location.

Now, navigate back to the Eightfold Connector API settings in Crosschq (Organization Settings > Connectors > Eightfold).
If you connect to Eightfold using the basic Authentication Method, choose Basic and paste the API key that you copied from Eightfold into the Token field. Click Save Changes.

If you connect to Eightfold using the Auth method, choose oAuth2.0 and paste the username and password that you copied from Eightfold into the User and Password fields. Click Save Changes.

Enable the Crosschq integration in Eightfold
To enable the Crosschq integration in Eightfold, copy the API Key and API URL from the Eightfold connector API settings in Crosschq.

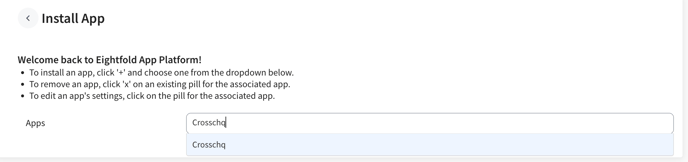
Next, navigate to your Eightfold instance and navigate to More > Admin Console> Apps> Install App. Search for Crosschq using the search bar and click on Crosschq.


Additional 360 configuration
The following sections will outline extra steps to make sure your Eightfold connection is successfully linked.
Configure Crosschq templates
Templates are reference request configurations that are used to trigger requests from ATS connectors. You have to set up your Crosschq templates to be able to send Crosschq requests from an ATS.
Within Crosschq, go to Organization Settings > Templates. Select Create New Template.
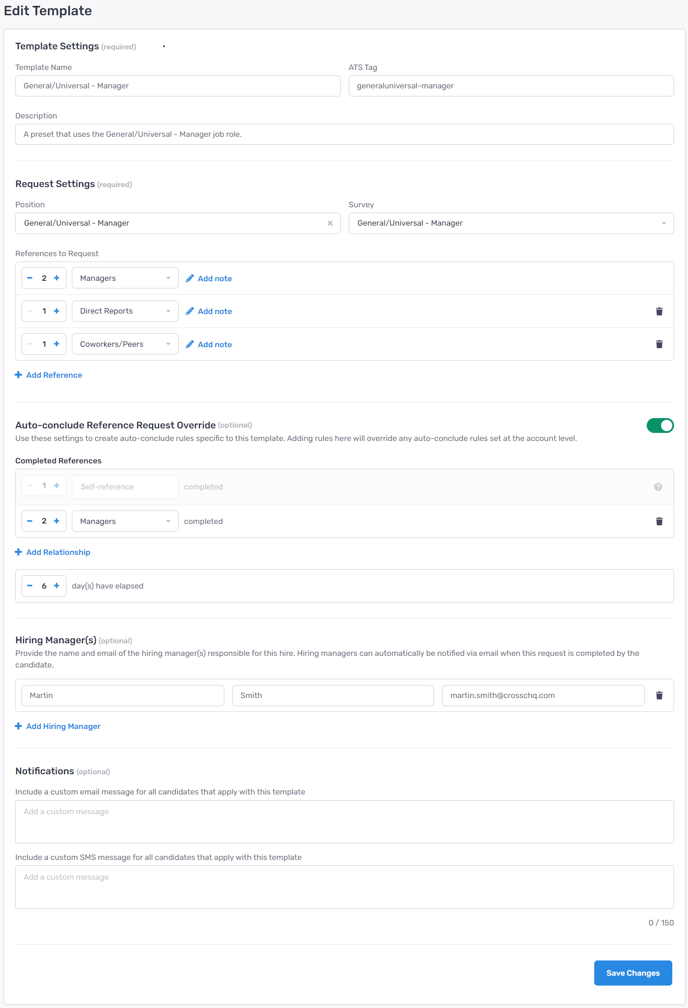
Enter the required information such as the template name, add an ATS Tag for that template, and create a description of the template.
Within the Request Settings, add in the position, select the appropriate survey, and configure the number/type of references you want to be associated with this request. Please note, the relationship type can either be specified or you can select any relationship type and let the candidate determine the type of reference. Additionally, you can add customized notes to each specific reference request, i.e. "Please provide a manager reference from X company."
From there, add optional hiring manager information. Finally, you can create custom emails or text messages associated with each template by filling out the custom notifications section. When you are done, select Create Template.
At any point, if you need to edit or delete a template select the three dots next to the template and you will be able to manage from there.

Sending a Crosschq from Eightfold
- Go to the Positions menu and look for the position your candidate is in.

- From the Employees menu, look for your candidate and open it.

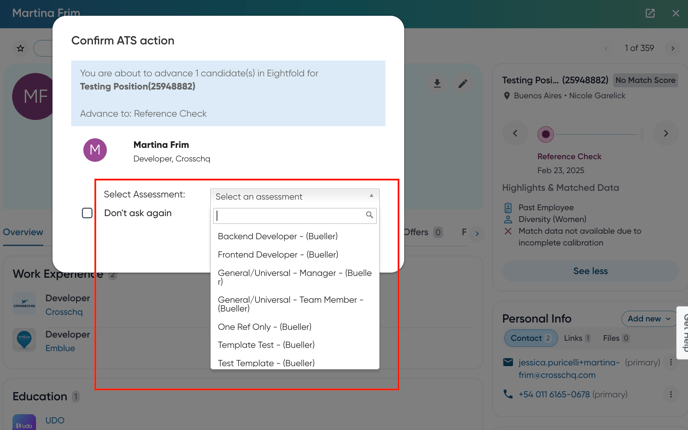
3. Click on Advance Stage and select Reference Check—or the stage you chose during your integration setup—in the next popup window.

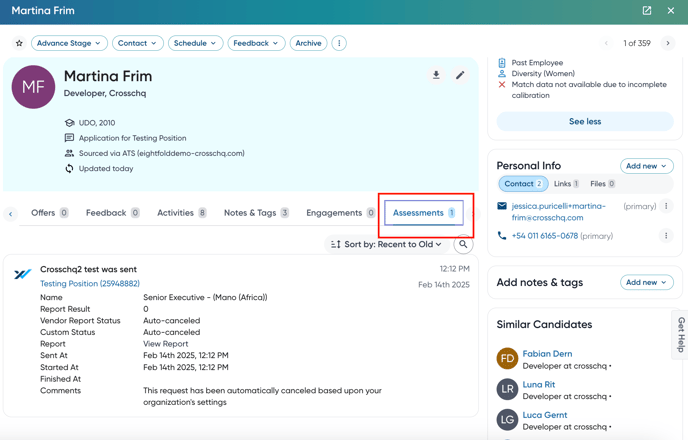
You can track your candidate's status changes from the Assessments tab within the candidate's view.
Viewing a Crosschq Report
To access the report, navigate to Files, on the candidate's view. Here you'll find a link to the Crosschq report.

Update the candidate's hiring status
You can Decline a candidate in Eightfold to mark them as rejected in Crosschq.
From the candidate's view on Eightfold, on the Advance Stage section, click on Candidate Declined.
The candidate will be marked as Rejected.

To mark a candidate as hired, navigate to the Eightfold candidate's view. In the Advance Stage menu, click Change Stage and select Hired.

