This article will cover the following:
General SAML SSO configuration
- To enable SSO, reach out to support[at]crosschq.com and provide the following information from your IdP:
- Entity ID (this might also be called the IDP Issuer; Azure calls this the AD Identifier)
- SSO Target URL (this might also be called the Login URL)
- SAML Certificate
- Please specify if you would like to auto-provision TalentWall accounts for new users who login via SAML SSO. If yes, then select which default permissions should be set up for these users:
-
- Enable or disable read-only access?
- Enable or disable access to Analytics?
- Enable or disable visibility of hired private candidates?
-
-
Within your IdP, input the following SP settings for TalentWall:
SP Entity ID: https://www.talentwall.io
SP Endpoint: https://app.talentwall.io/users/auth/saml/callback
Once SSO is set up, users can then log into TalentWall through the SSO provider app, or by a unique SP-initiated link that TalentWall will share with you after the integration is enabled.
Special instructions for Okta
For Okta customers, please do not set up the pre-built TalentWall app from the Okta catalogue. Instead, create a custom app using the following settings.
- Create a new SAML 2.0 app.
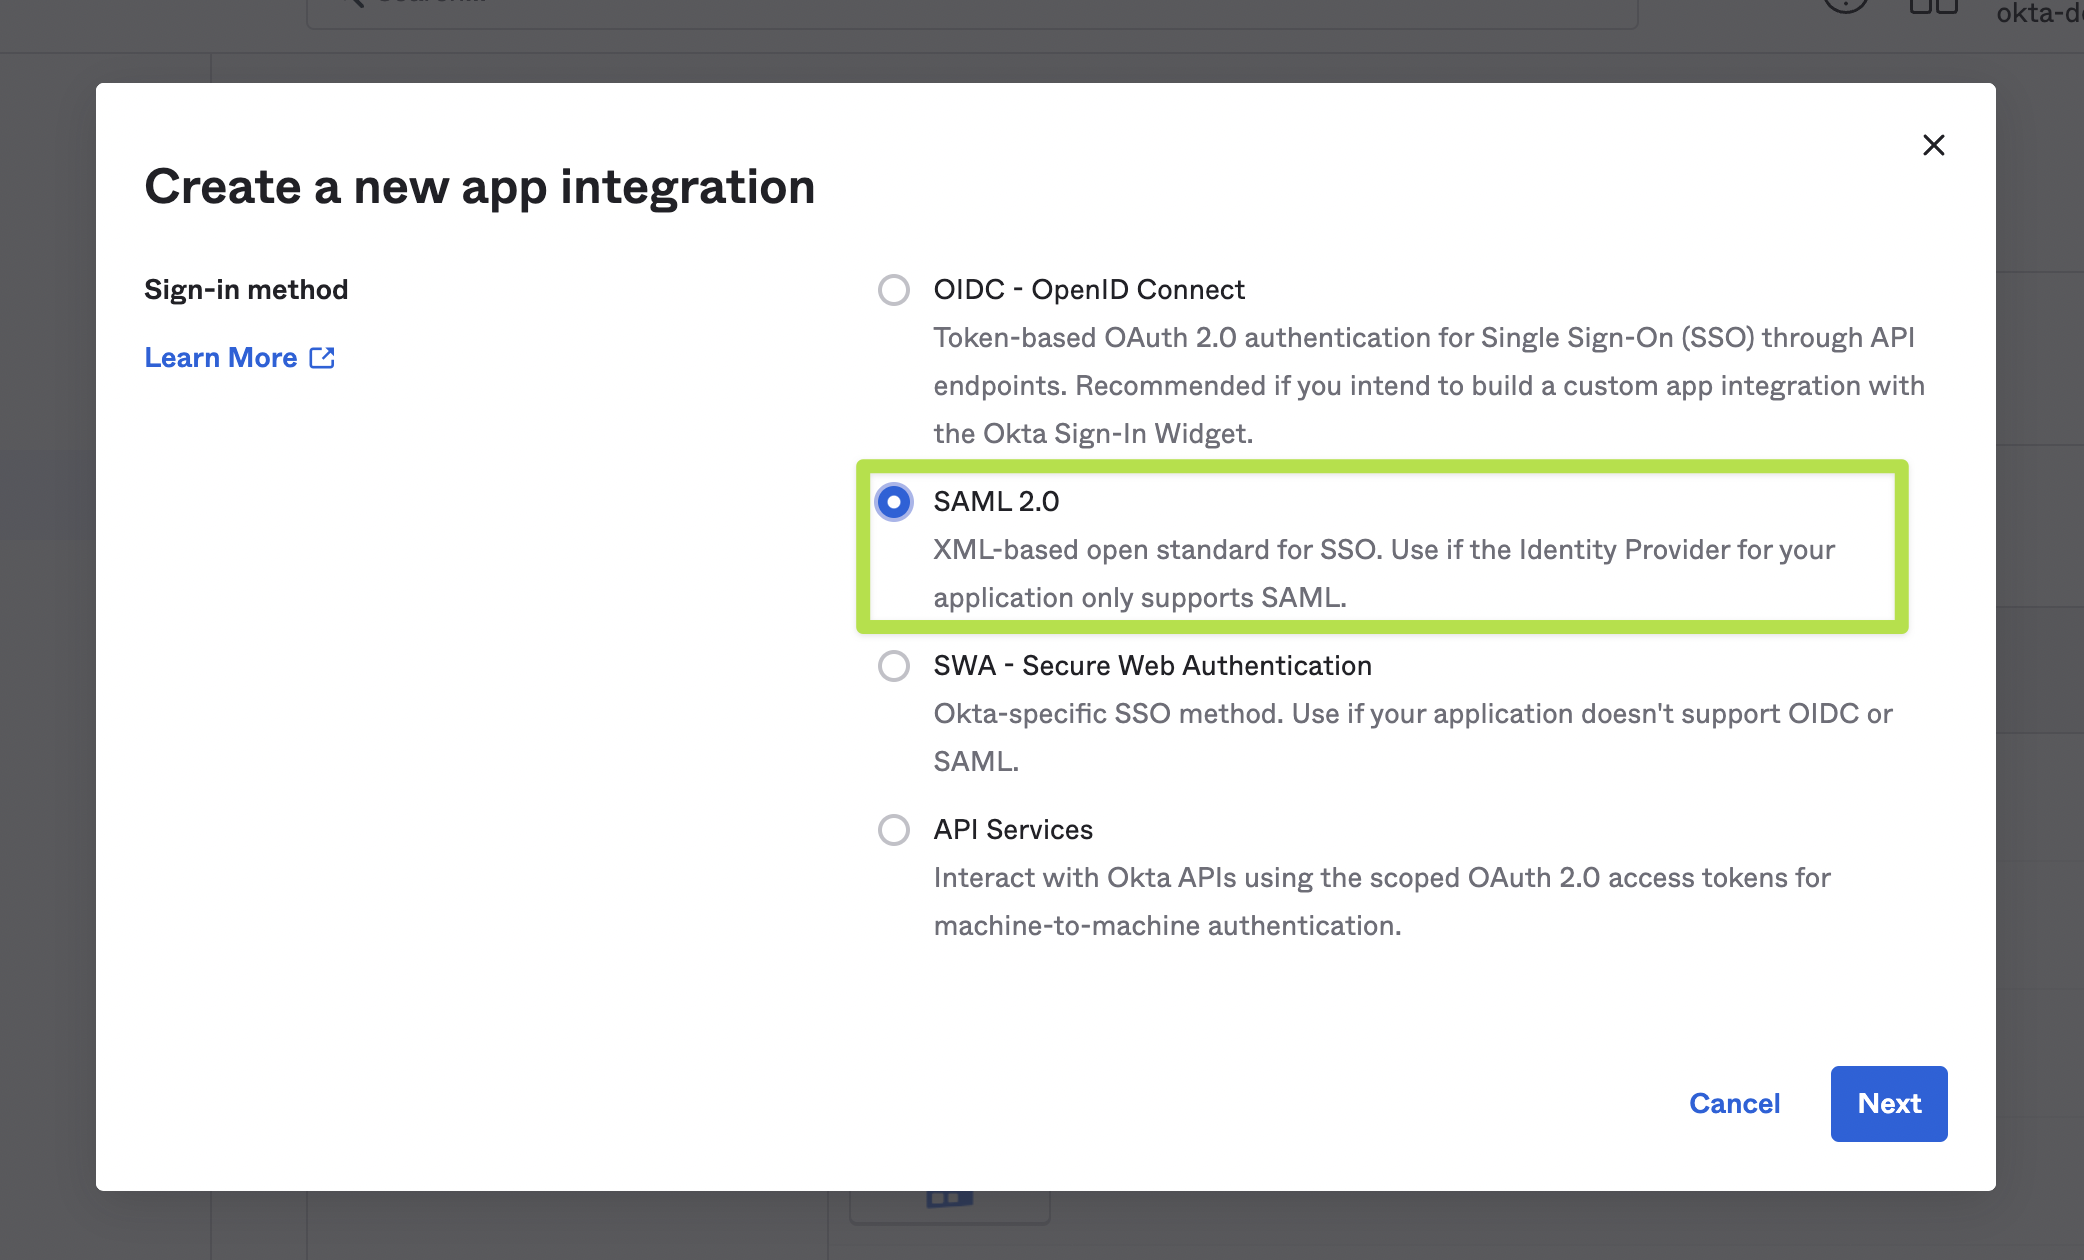
- Entering the following information:
Endpoint: https://app.talentwall.io/users/auth/saml/callback
Entity ID: https://www.talentwall.ioName ID format: EmailAddress
Application Username: Email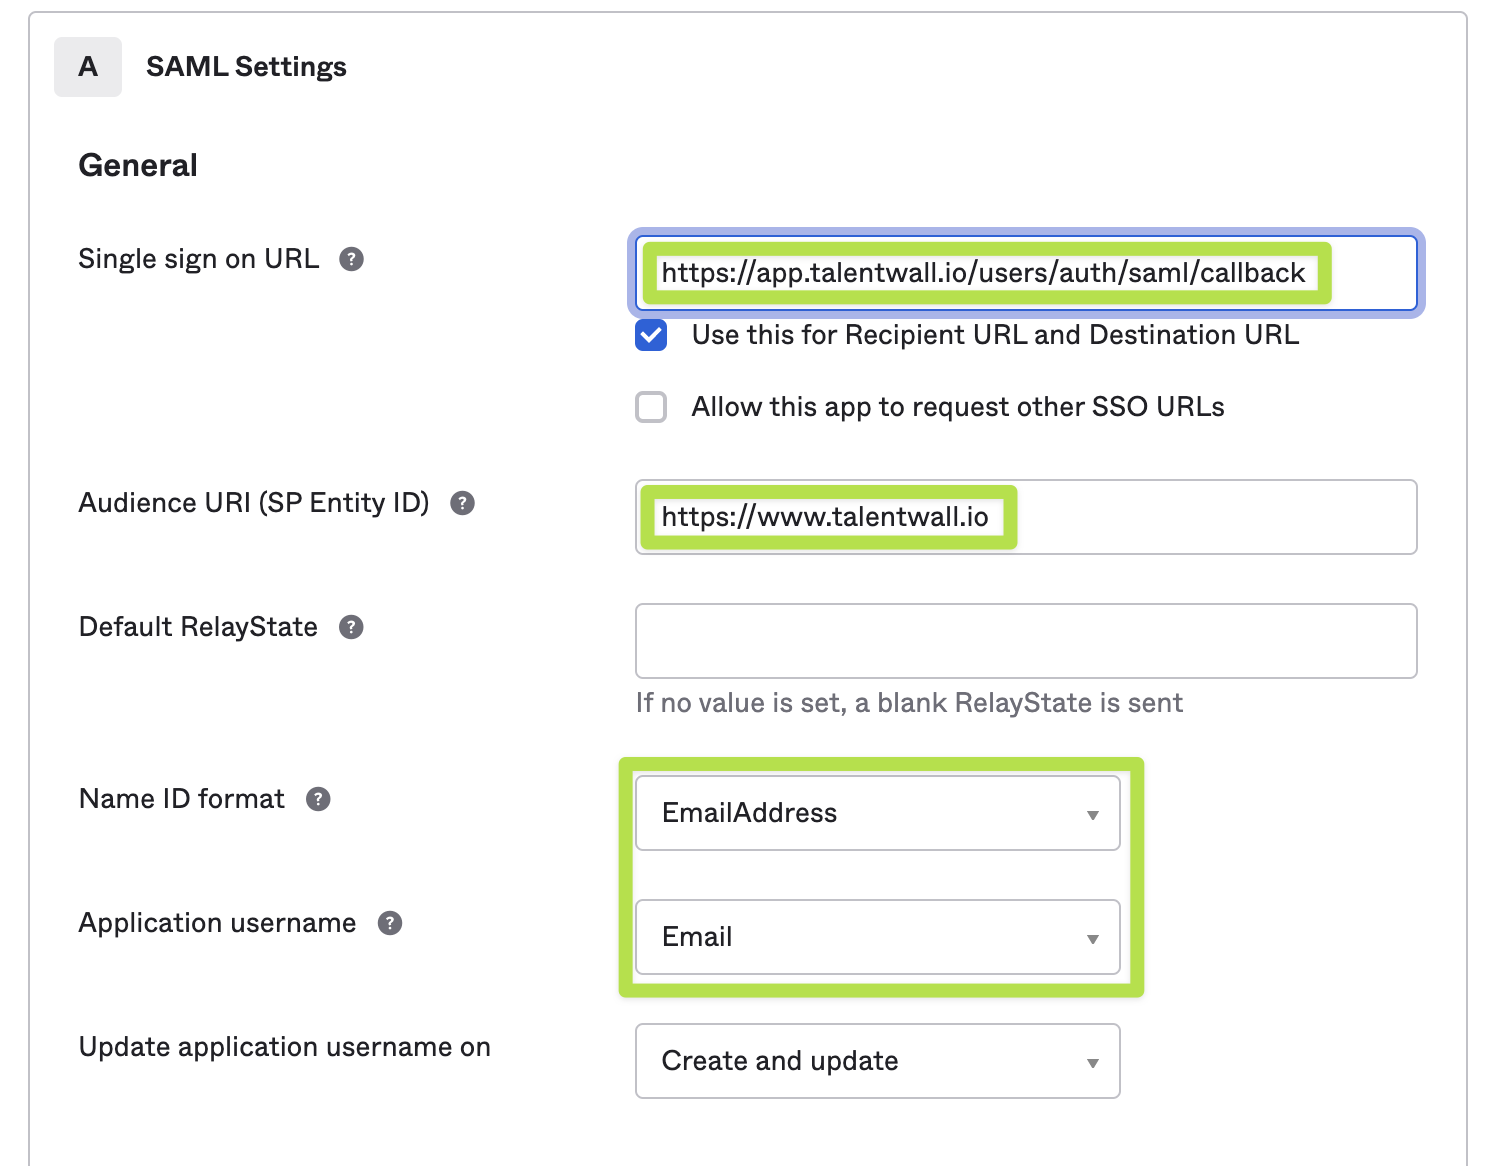
Special instructions for Google SSO
If you are using Google for SSO, then enter the following for your Entity ID and Endpoint URL:
Entity ID: https://www.talentwall.io
Endpoint URL: https://app.talentwall.io/users/auth/saml/callback?account=[SLUG_PROVIDED_BY_TALENTWALL]