Follow the steps below to connect SmartRecruiters with Crosschq:
- Enable the SmartRecruiters integration
- Configure integration settings
- Configure app settings
- Additional 360 configuration
Enable the SmartRecruiters integration
Search for the SmartRecruiters connector from Organization Settings > Connectors. Click Manage from the SmartRecruiters section.

On the next page, turn on the SmartRecruiters connector by clicking the toggle on the right. The toggle should turn green.
Configure integration settings
To Enable the connector, click the Add to SmartRecruiters button.

You will be redirected to a SmartRecruiters window asking to grant Crosschq access to your ATS instance. Click Allow Access.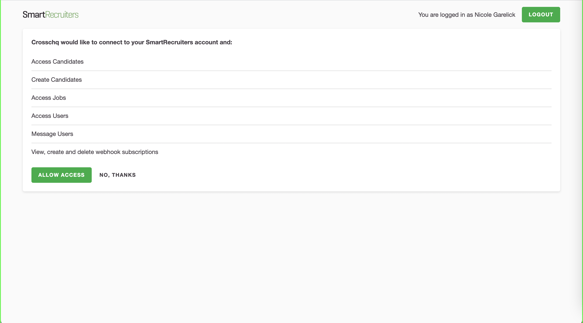
Once access is granted, Crosschq will show a green Connected label within the SmartRecruiters Integration Settings.

Configure app settings
Once your integration settings are saved, you can configure additional settings for specific Crosschq apps.
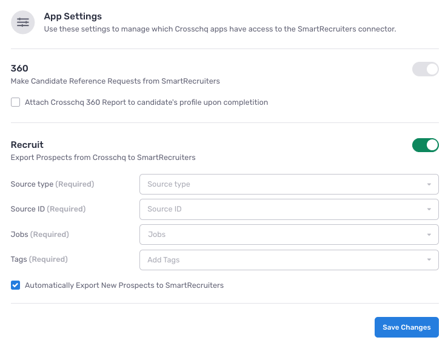
360 settings
When you enable Attach Crosschq 360 Report to candidate's profile upon completion, we will upload completed reference reports to the candidate's profile in SmartRecruiters if the reference was initiated from the ATS.
Recruit settings
The additional Recruit settings allow you to export prospects from Crosschq to SmartRecruiters. After this app is enabled (toggle is turned on and shows green), enter the Source Type, Source ID, Jobs, and Tags.
To identify your leads as Crosschq prospects, make sure to add Custom Candidate Sources within the Settings section in SmartRecruiters.
If you want new prospects to automatically sync to SmartRecruiters, enable the setting called Automatically Export New Prospects to SmartRecruiters.
Afterward, be sure to enable the following setting in SmartRecruiters so Crosschq has access to "Company Settings"
.png?width=688&name=image%20(97).png)
Additional 360 configuration
The following sections will outline extra steps to make sure your SmartRecruiters connection is successfully linked.Configure Crosschq templates
Templates are reference request configurations that are used to trigger requests from ATS connectors. You have to set up your Crosschq templates to be able to send Crosschq requests from an ATS.
Within Crosschq, go to Organization Settings > Templates. Select Create New Template.
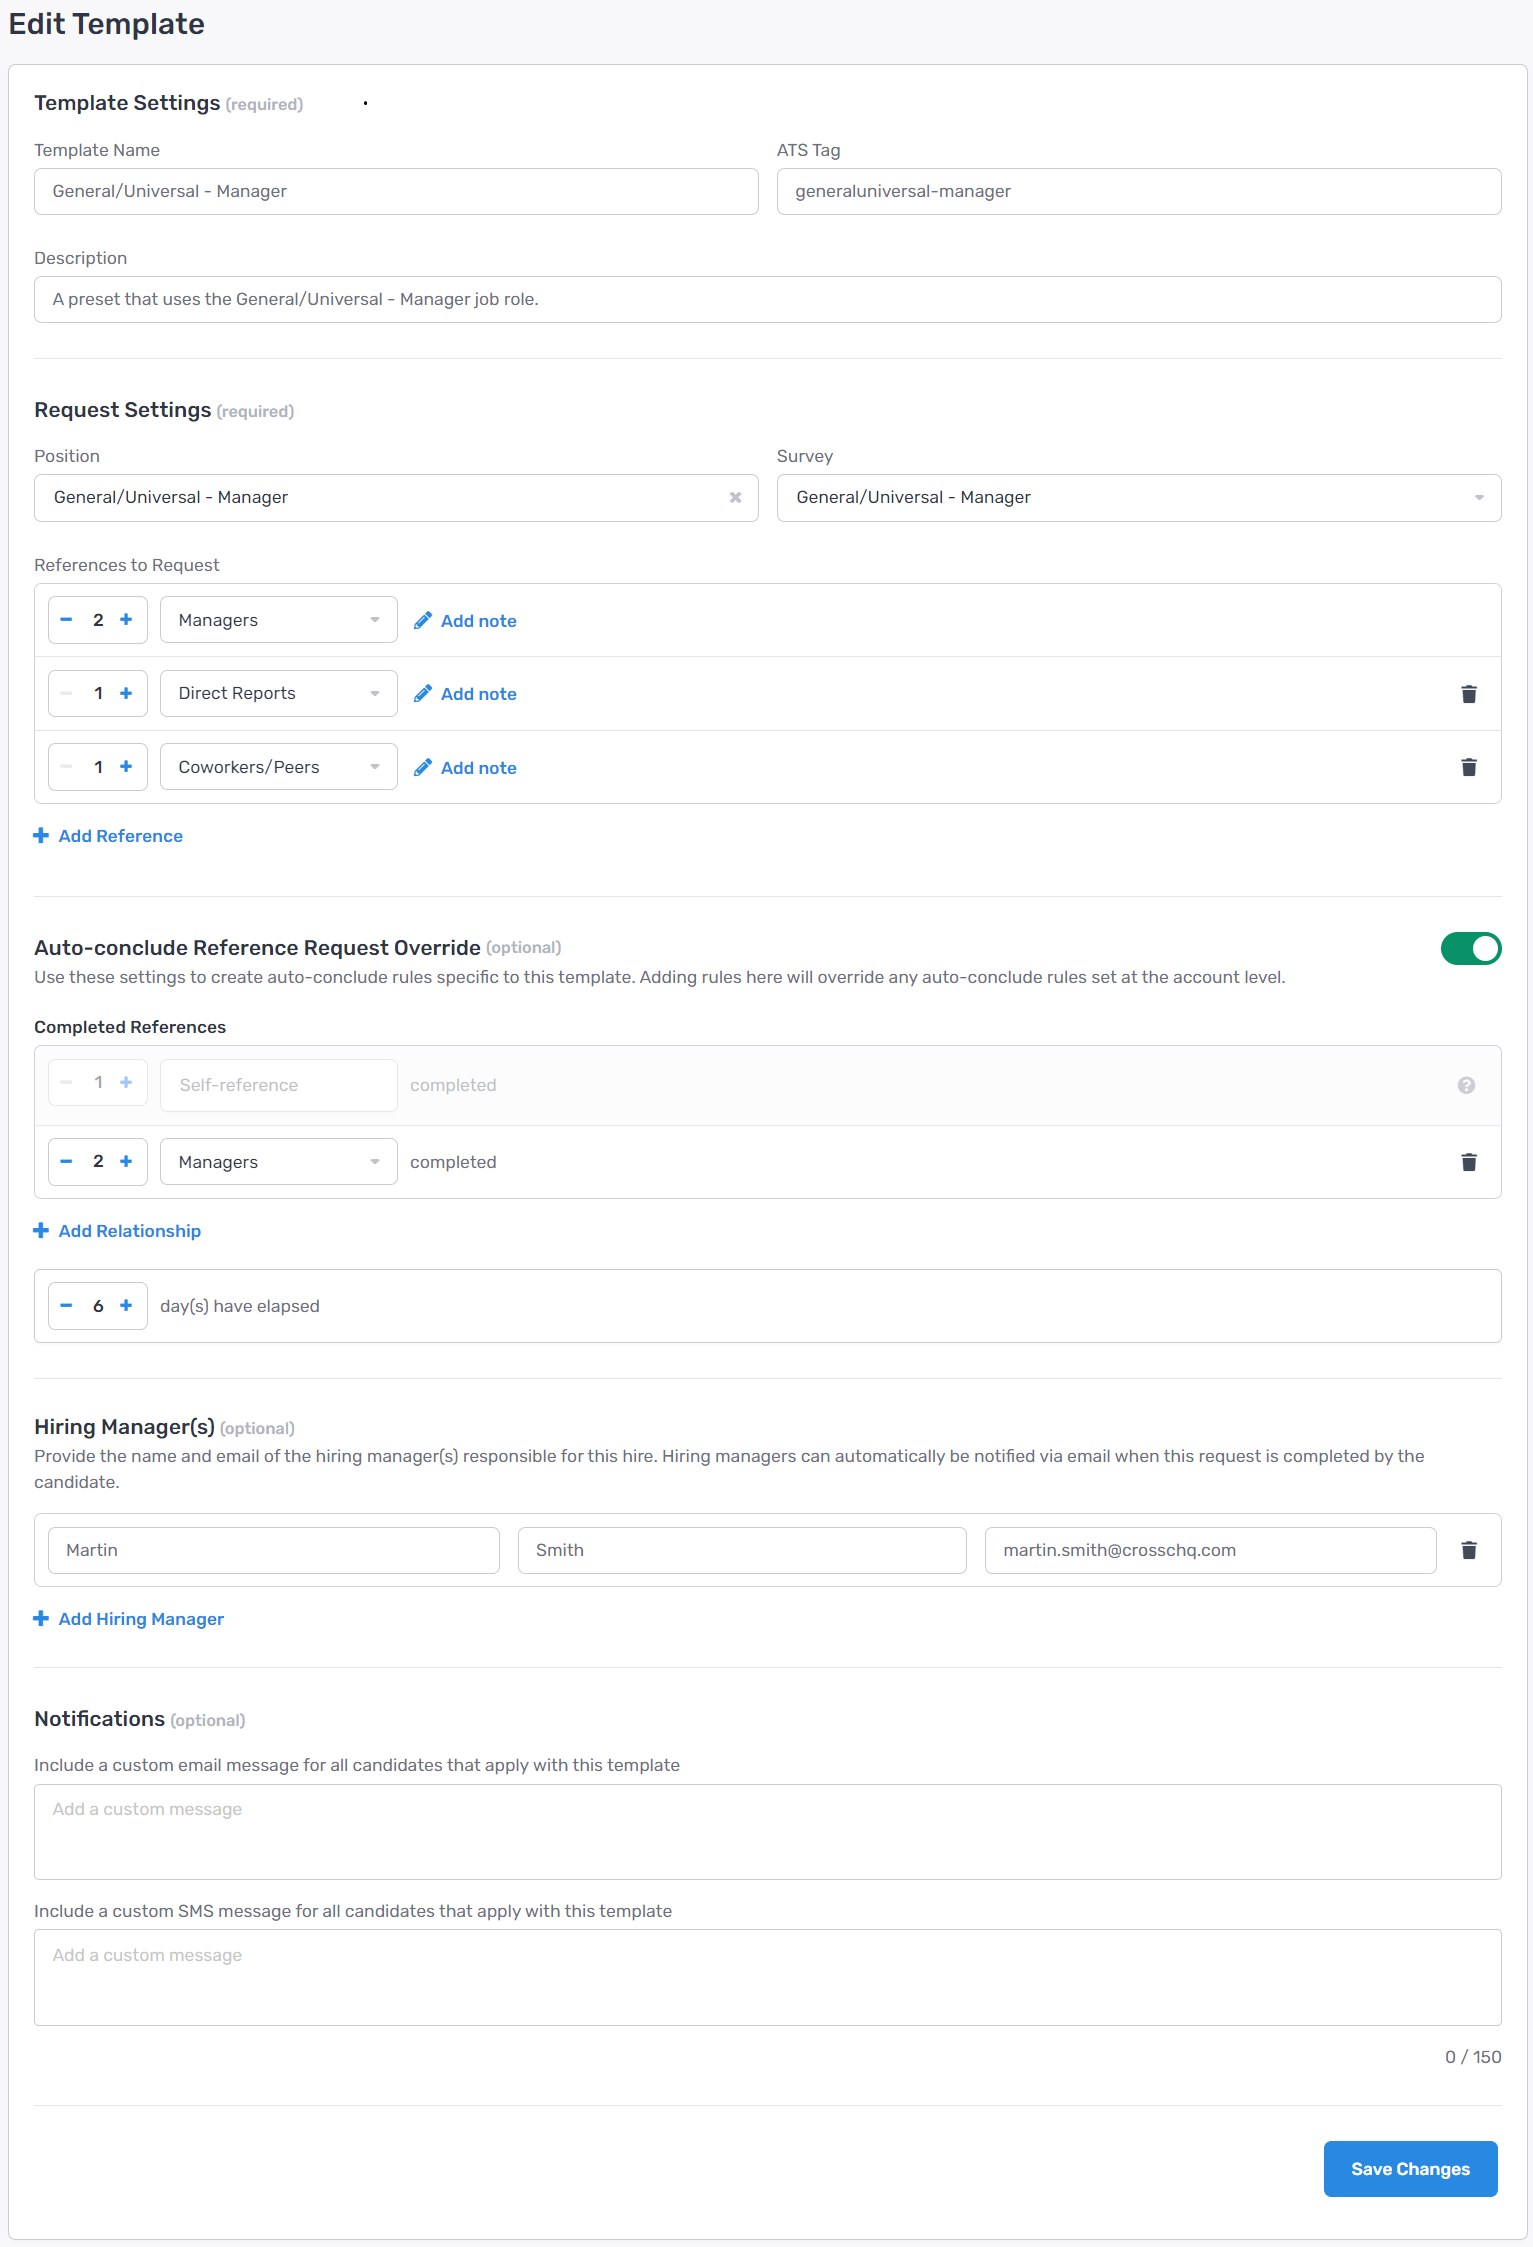
Enter the required information such as the template name, add in an ATS Tag for that template and create a description of the template.
Within the Request Settings, add in the position, select the appropriate survey, and configure the number/type of references you want to be associated with this request. Please note, the relationship type can either be specified or you can select any relationship type and let the candidate determine the type of reference. Additionally, you can add customized notes to each specific reference request, i.e. "Please provide a manager reference from X company."
From there, add in optional hiring manager information. Finally, you can create custom emails or text messages associated with each template by filling out the custom notifications section. When you are done, select Create Template.
At any point, if you need to edit or delete a template select the three dots next to the template and you can manage from there.

Adding template tags to SmartRecruiters
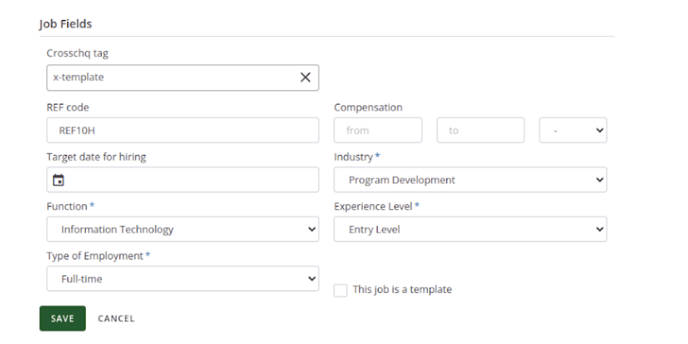
To configure the Survey Template in SmartRecruiters, first, navigate to Settings and then click on “Job Fields.” Within the Job Fields section, proceed to edit the Crosschq Job Field and add or edit the “ACTIVE VALUES” as necessary.
To incorporate the Crosschq tag into the relevant job within the SmartRecruiters platform, follow these steps:
1. Select the desired job.
2. Click on the edit button for the job.
3. Within the job details section of the job description, select the Crosschq tag you created within the corresponding template in Crosschq from the dropdown menu.
4. Proceed with editing the job and select save.
After completing this process, ensure that the candidate you're sending through Crosschq is applying for the same job where you've updated the Crosschq tag. This will guarantee they receive the correct Crosschq request.
Please note that tags should match the case structure within Crosschq exactly.
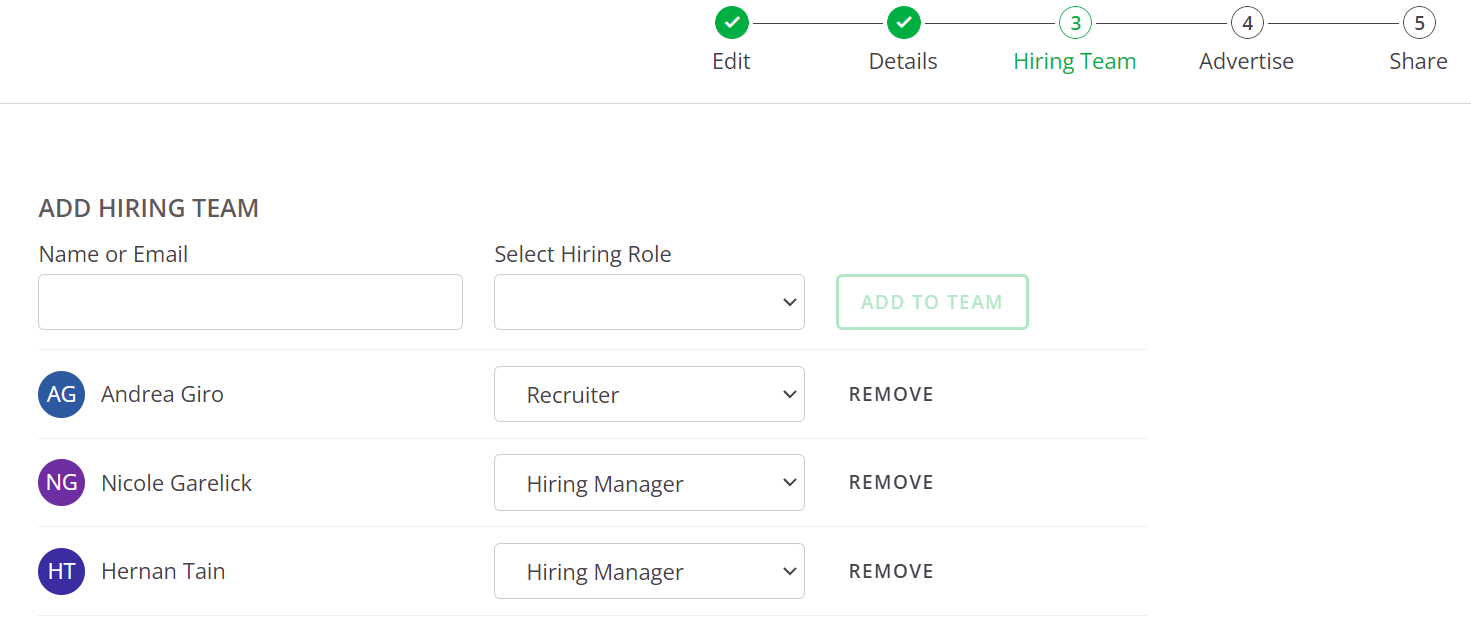
Requestors and Hiring Managers
Crosschq pulls the Recruiter and Hiring Managers information from the job's Hiring Team in SmartRecruiters.
- Crosschq will assign as requestor the SmartRecruiters user listed as "Recruiter" within the Job's hiring team. If there is more than one user with recruiter permissions, Crosschq will select the first in the list.
- Crosschq will assign as Hiring Managers the SmartRecruiters users listed as "Hiring Managers" within the Job's hiring team.
In the following example, Andrea will be assigned as the requestor and Nicole and Hernan as Hiring Managers:
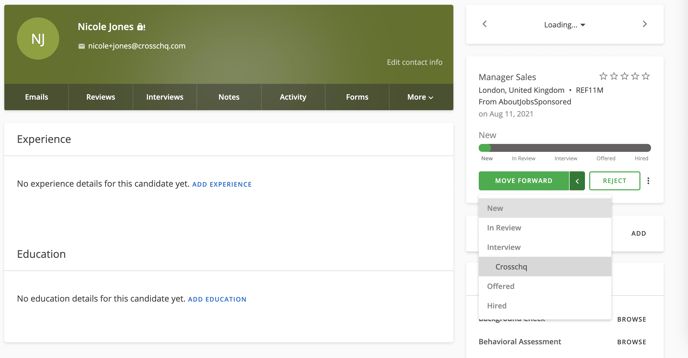
Sending a Crosschq from SmartRecruiters
To initiate a Crosschq request for a specific candidate, ensure that the candidate has been converted to a lead and has applied for a job with a Crosschq tag.
Then move the candidate along to the Crosschq stage, this will kick off the Crosschq for a candidate.
Note: Adding Crosschq as a Custom Stage
To include Crosschq in your hiring process, you must add it as a custom stage in SmartRecruiters.
Navigate to Settings > Hiring Process
Select the hiring process you want to modify
Click "Add Step" under the Interview section
Choose "Add Custom" and name the stage "Crosschq"
Here’s an example of what it looks like:
-1.png?width=688&height=375&name=Screenshot%20from%202025-06-24%2017-13-09%20(1)-1.png)
To initiate a Crosschq request for a specific candidate, ensure that the candidate has been converted to a lead and has applied for a job with a Crosschq tag.

Then move the candidate along to the Crosschq stage, this will kick off the Crosschq for a candidate.
When a Crosschq request is complete, the owner will receive an email message.
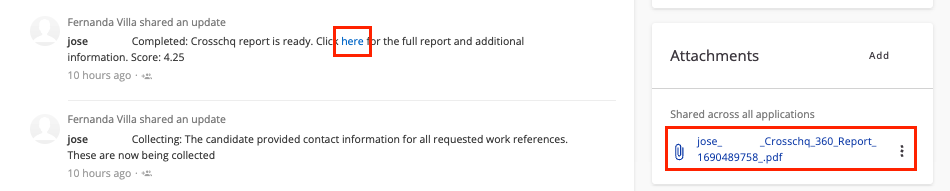
Viewing a Crosschq report
To view the Crosschq report, a link will be available from the Notes section under a candidate in SmartRecruiters. Click the link to get redirected to the Crosschq report. Additionally, a full report will be available from the attachments section in SmartRecruiters.
When a candidate is marked as hired in SmartRecruiters this status will be ingested into Crosschq, as will the rejected status.
We have implemented a new auto-cancelation feature, now when candidates are marked as rejected they will automatically have their reference request canceled within Crosschq.