Follow the steps below to connect iCIMS with Crosschq:
- Enable the iCIMS integration
- Configure API settings
- Configure app settings
- Additional 360 configuration
Enable the iCIMS integration
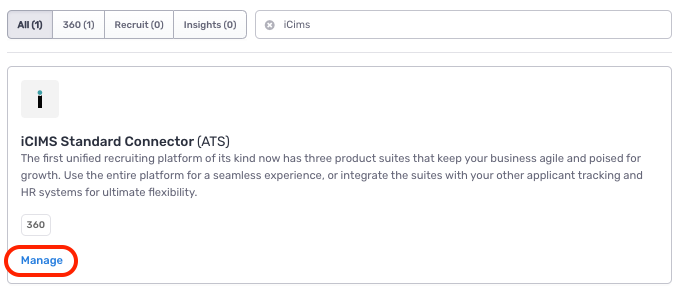
Search for the iCIMS connector from Organization Settings > Connectors. Click Manage from the iCIMS section
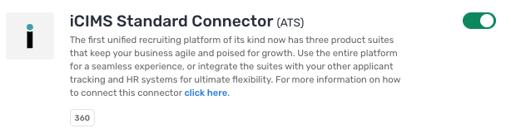
On the next page, turn on the iCIMS connector by clicking the toggle on the right. The toggle should turn green.
Configure API settings
To connect iCIMS with Crosschq, reach out to iCIMS support as they will provide the Customer ID, Client ID, and Client Secret. Enter these values within the API settings section, select the Region, and click Save Changes.

iCIMS will prompt you to provide your basic username and password, along with the along with the Hired and Trigger webhooks. These details are necessary for authentication and you can find them in the API settings section within Crosschq.

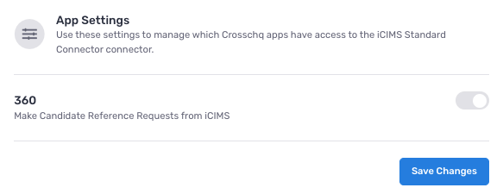
Configure app settings
The connector app settings should be enabled automatically after completing the API Settings from above.
Additional 360 configuration
The following sections will outline extra steps to make sure your iCIMS connection is successfully linked.Configure Crosschq templates
Templates are reference request configurations that are used to trigger requests from ATS connectors. You have to set up your Crosschq templates to be able to send Crosschq requests from an ATS.
Within Crosschq, go to Organization Settings > Templates. Select Create New Template.
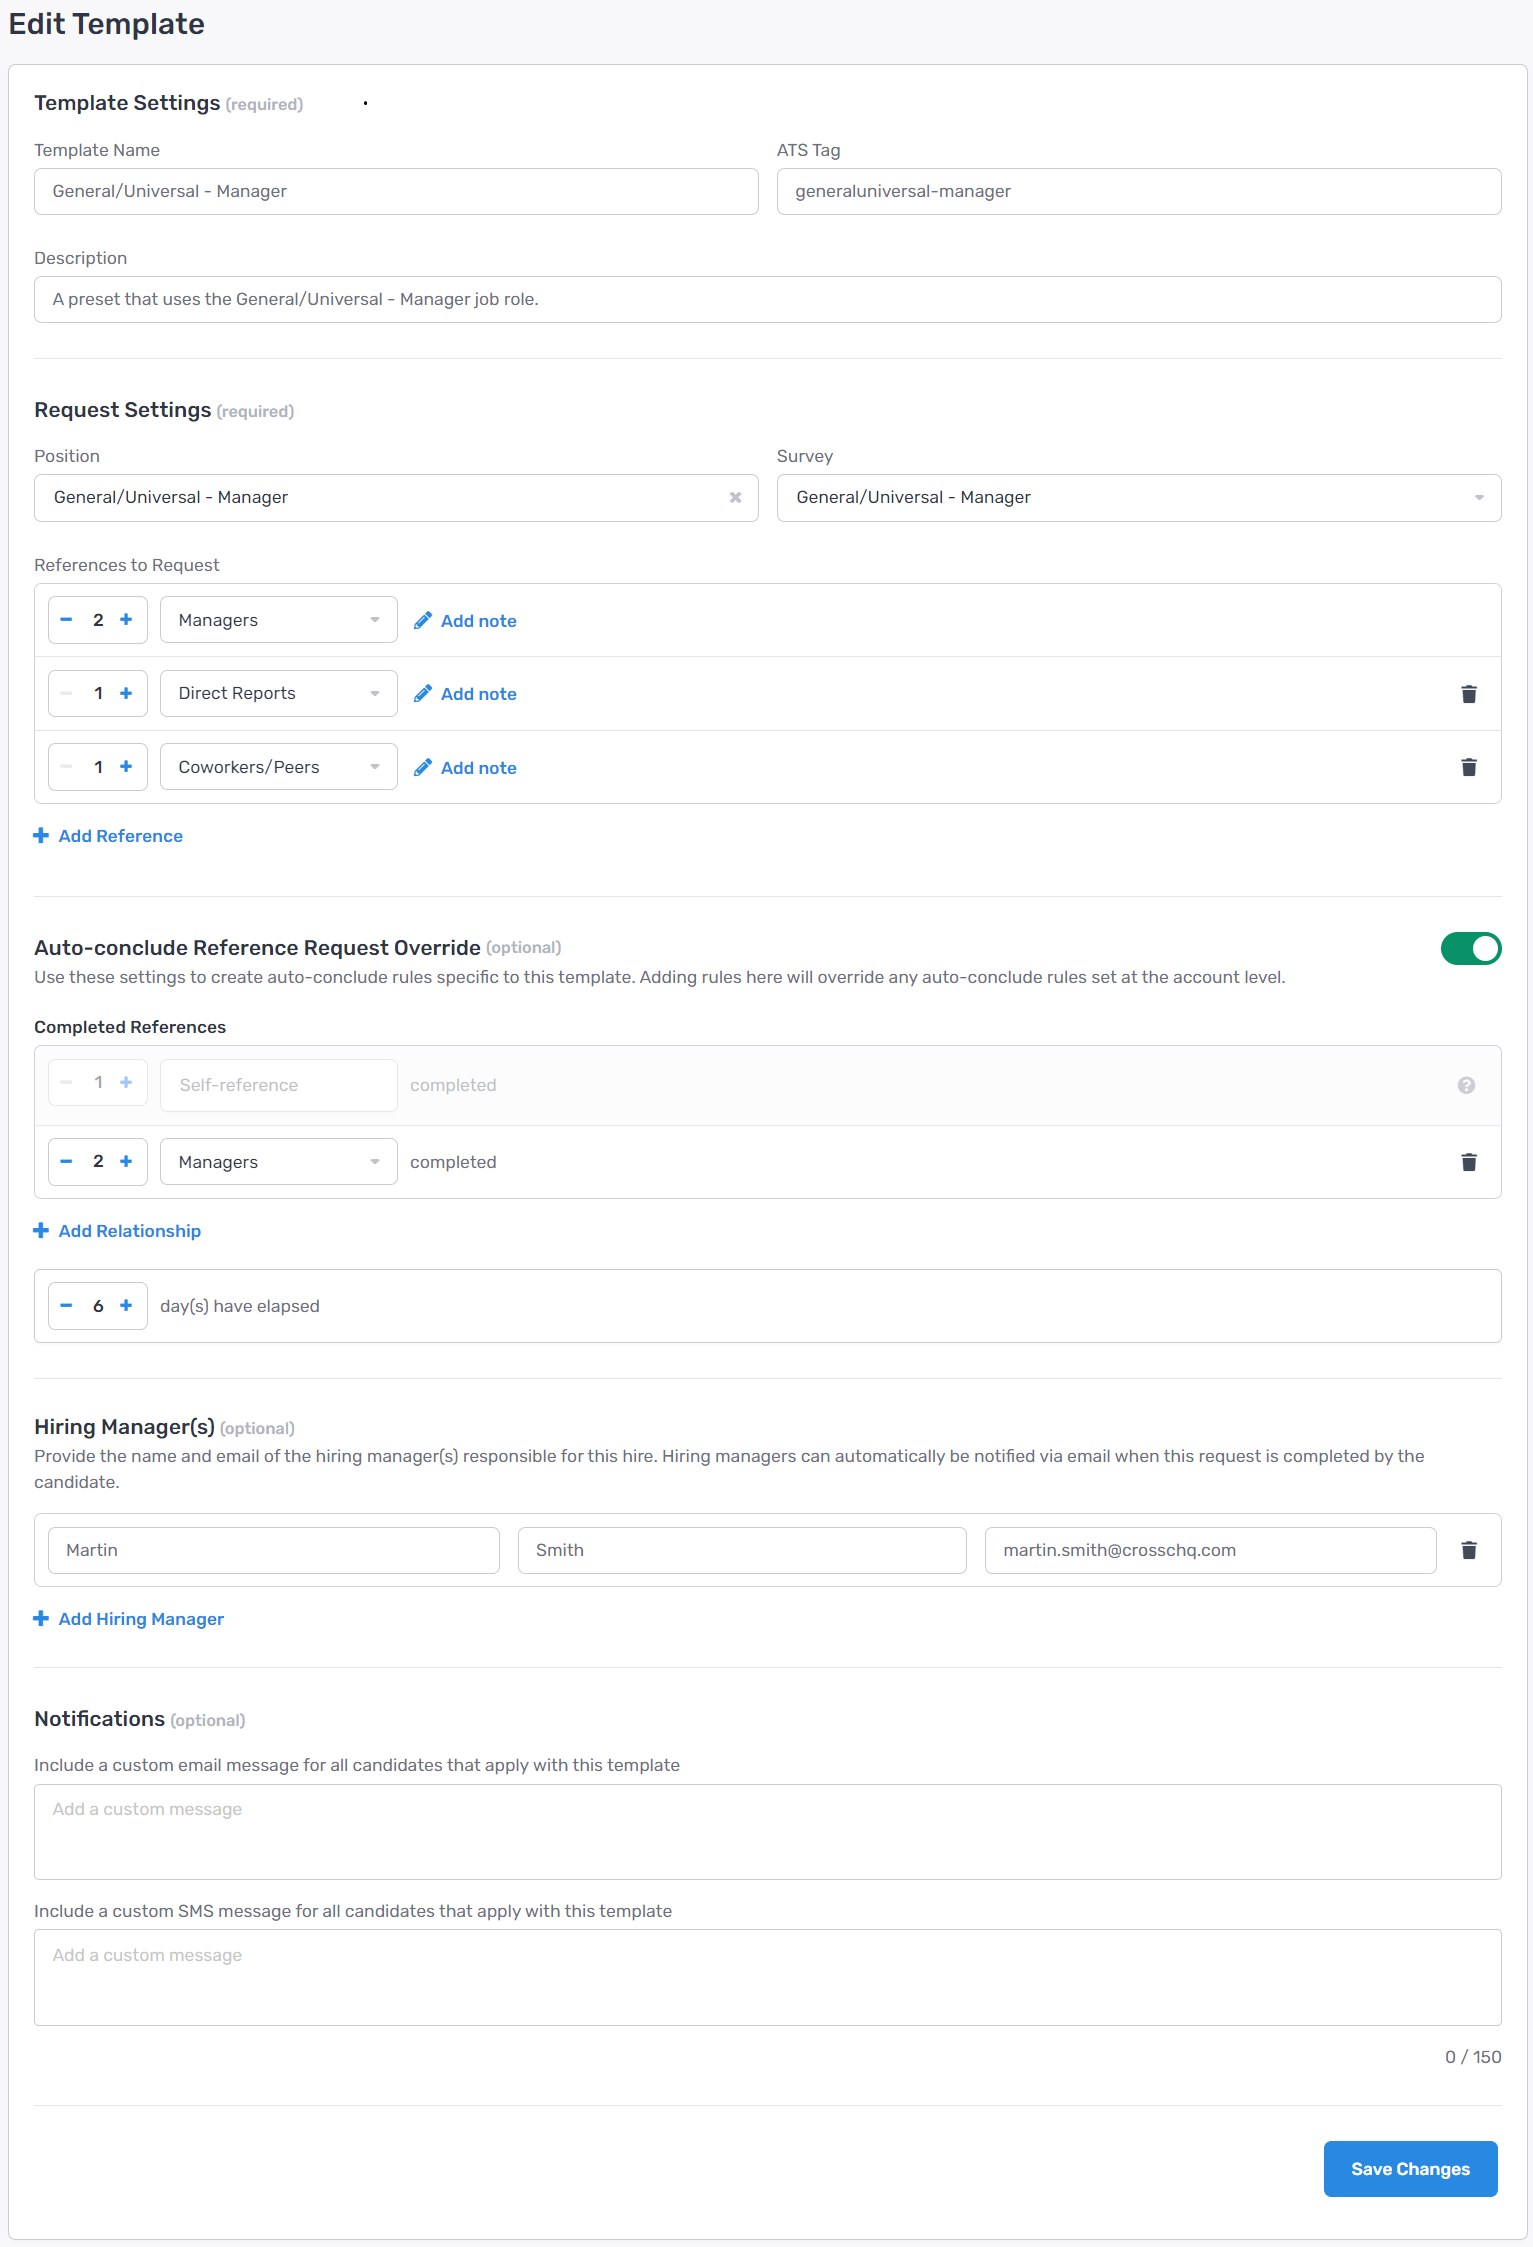
Enter the required information such as the template name, add an ATS Tag for that template, and create a description of the template.
Within the Request Settings, add in the position, select the appropriate survey, and configure the number/type of references you want to be associated with this request. Please note, the relationship type can either be specified or you can select any relationship type and let the candidate determine the type of reference. Additionally, you can add customized notes to each specific reference request, i.e. "Please provide a manager reference from X company."
From there, add optional hiring manager information. Finally, you can create custom emails or text messages associated with each template by filling out the custom notifications section. When you are done, select Create Template.
At any point, if you need to edit or delete a template select the three dots next to the template and you will be able to manage from there.

Set up connector in iCIMS
In iCIMS, go to the job requisition. After configuring your templates in Crosschq, proceed to designate the specific templates for distribution corresponding to each job description. In the screening section, carefully choose the template you intend to dispatch from Crosschq by selecting its name. Then be sure to add it to the job requisition and select save.
Within the workflow, you will want to select assign candidate to the Crosschq stage. You will want to repeat this for all desired job requisitions so they have the Crosschq stage. Then you will need to reach out to the iCIMS team to help you build out the various Crosschq statuses to reflect the updates throughout the process.
- For Check References → “Send to Crosschq”
- For Hire actions → “Crosschq Hired Notification” or “Hired: Hired”
Please reach out to support@crosschq.com if you don't have a direct contact at iCIMS, but you should have one assigned.
.png?width=670&height=366&name=image%20(61).png)
Sending a Crosschq from iCIMS
As applicants apply, they will be brought into the workflow and can be advanced accordingly as per the usual process. When you identify a person you would like to send through Crosschq, you can advance them to the status of Crosschq within the candidate page. At this time, the connector will launch and an email will be sent both by Crosschq as well as iCIMS.
Once the applicant has been routed through the connector, they will receive an email from Crosschq requesting that the candidate sign in to their platform and add references.
-1.png?width=670&name=image%20(62)-1.png)
As the applicant completes this part of the process, Crosschq will update their iCIMS profile with the appropriate status.
After the applicant has completed their portion, emails will be sent to the references they entered, requesting them to complete the information. Once the references complete their portion, the candidate’s status in iCIMS will be changed to Complete. The URL and Status within the workflow view will reflect this. The Crosschq report will be available on the Screen tab of the Recruiting Workflow profile. Click the link to access the full Crosschq report.
-2.png?width=670&name=image%20(63)-2.png)
We have implemented a new auto-cancelation feature, now when candidates are marked as rejected they will automatically have their reference request canceled within Crosschq.