Table of Contents
- Message Templates
- Creating a Message Template
- Contacting a Prospect
- Viewing the Contact Log
- Customizing the Thank You Email
Message Templates
Message Templates allow team members to create reusable email templates for reaching out to prospective prospects. Templates can include custom text, images, dividers, button labels, and social links.
To access Message Templates, navigate to the Message Templates tab in Recruit.

Creating a Message Template
- Navigate to the Message Templates tab in Recruit.
- Click New Template.
- Add a template name and compose your message. You can include:
- Custom text
- Images
- Dividers
- Button labels
- Social links
- Click Save to store the template.
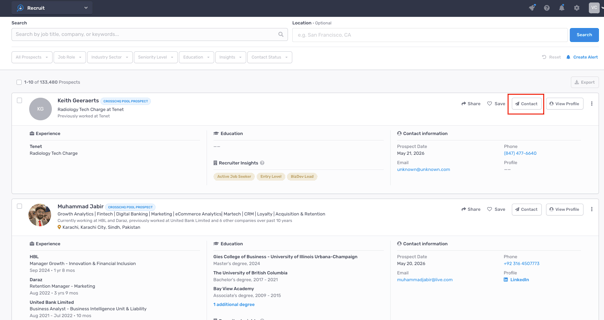
Contacting a Prospect
- Locate the prospect you want to reach out to in Recruit.
- Click Contact on the prospect's record.
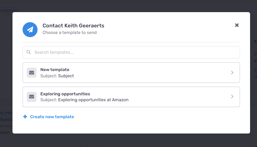
- Select a message template from the list.
- Review the email and click Send.
The prospect will receive the email directly to their inbox.
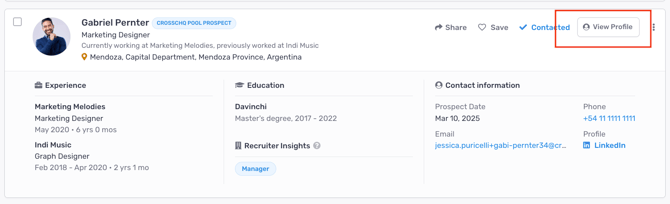
Viewing the Contact Log
A log of all outreach sent to a prospect is available within their profile. To view it, open the prospect's profile in Recruit and navigate to the Contact Log section.

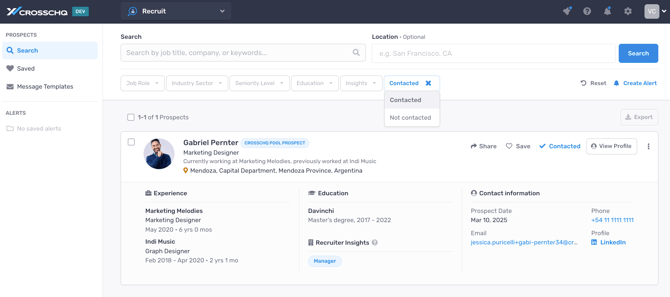
In the Search prospects view you can now filter by Contacted or Not Contacted prospects.
Customizing the Thank You Email
The Thank You email is automatically sent to all references who opt in after completing a 360 survey. This email can be customized from Settings.
Steps
- Navigate to Recruit in your Organization Settings.
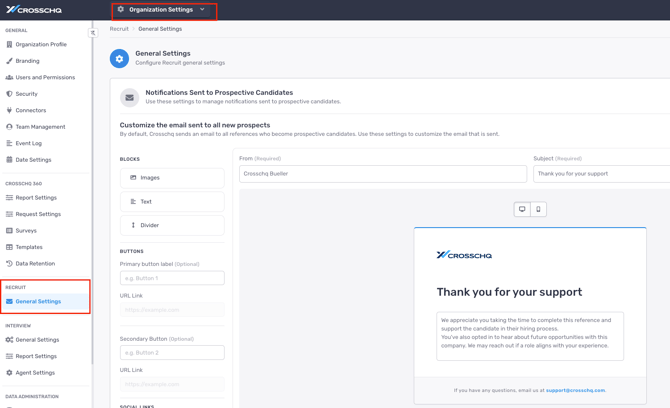
- Turn on the toggle to Customize the email sent to all new prospects.
- Edit the email content. You can modify:
- Custom text
- Images
- Dividers
- Button labels
- Social links
- Click Save to apply your changes.
Support
For additional assistance, contact support@crosschq.com.