Connecting to SmartRecruiters
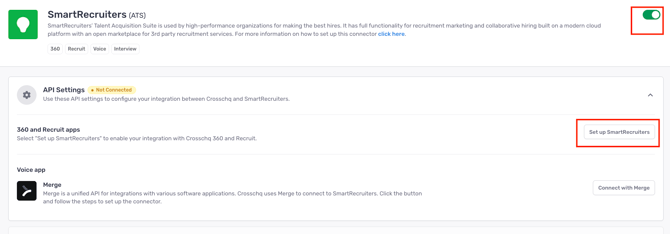
Login to your Crosschq administrator account, then click Organization Settings > Connectors item on the menu. Locate the SmartRecruiters listing in the main panel, then click the Manage button.
To enable the connector, click the toggle; it should turn green once active. Then, click the 'Set up SmartRecruiters' button to complete the process.
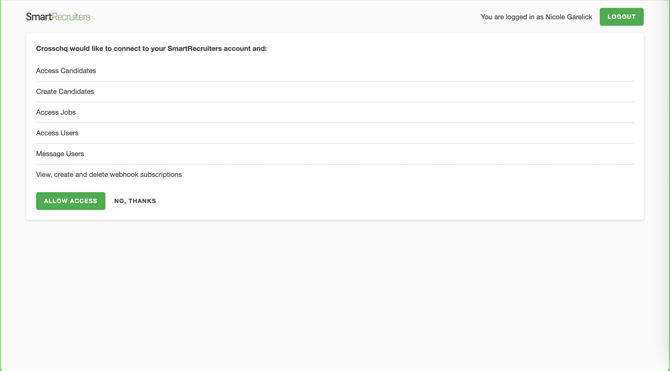
Within SmartRecruiters, allow Crosschq access to integrate.
Configure app settings
Once the integration is connected, click to enable the Interview toggle.

By default the Trigger Stage will be called Crosschq Interview Agent, and the Tag field codename will be Crosschq interview tag. You can customize these names in these settings.
Additional Interview configuration
The following sections will outline extra steps to make sure your SmartRecruiters connection is successfully linked.
Interview Agent settings
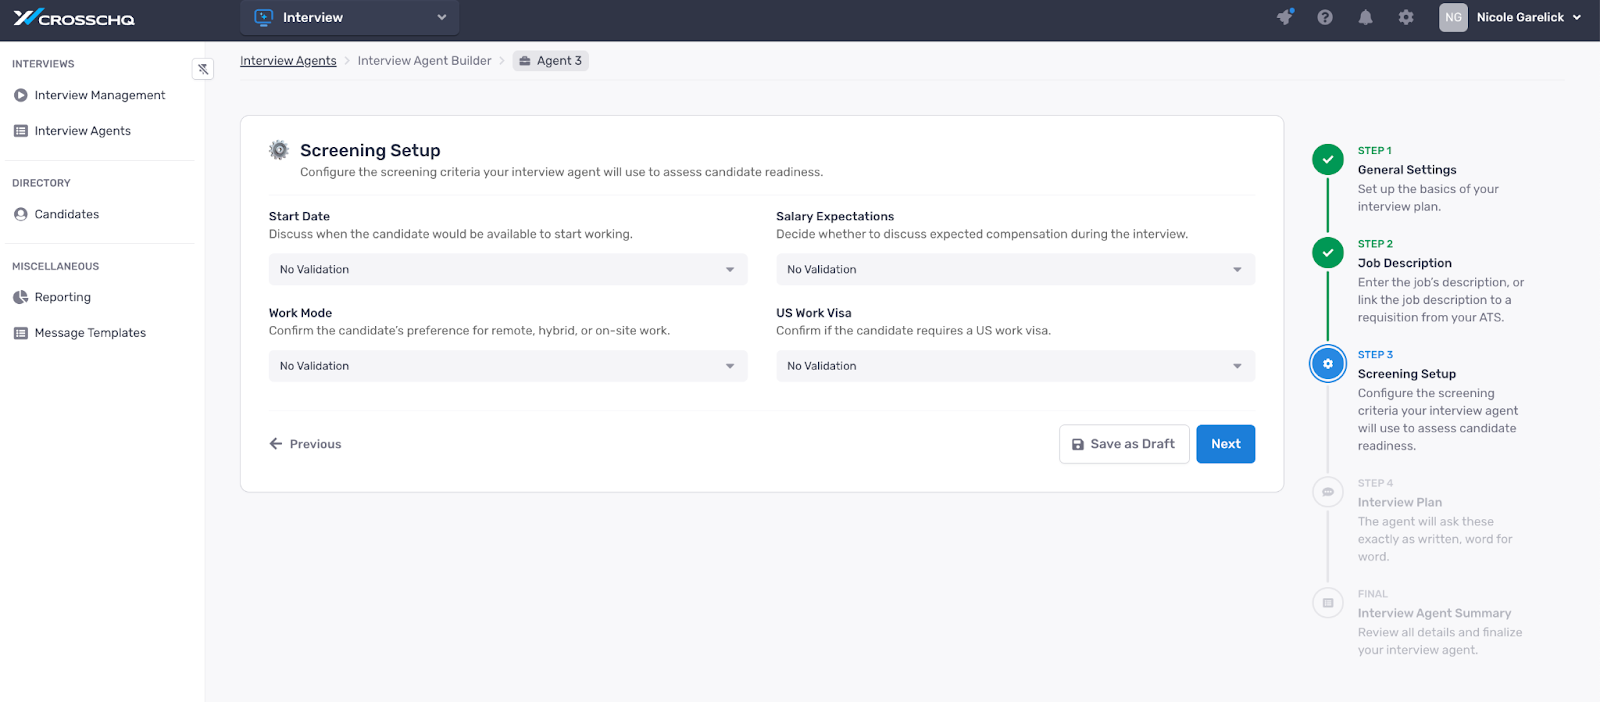
Within Crosschq, access the Interview Agents section. Click Build New Interview Agent.

Complete your Agent settings and click Next.

On the next page, complete the Position and Job Description and click Next.
.png?width=670&height=303&name=unnamed%20(2).png)
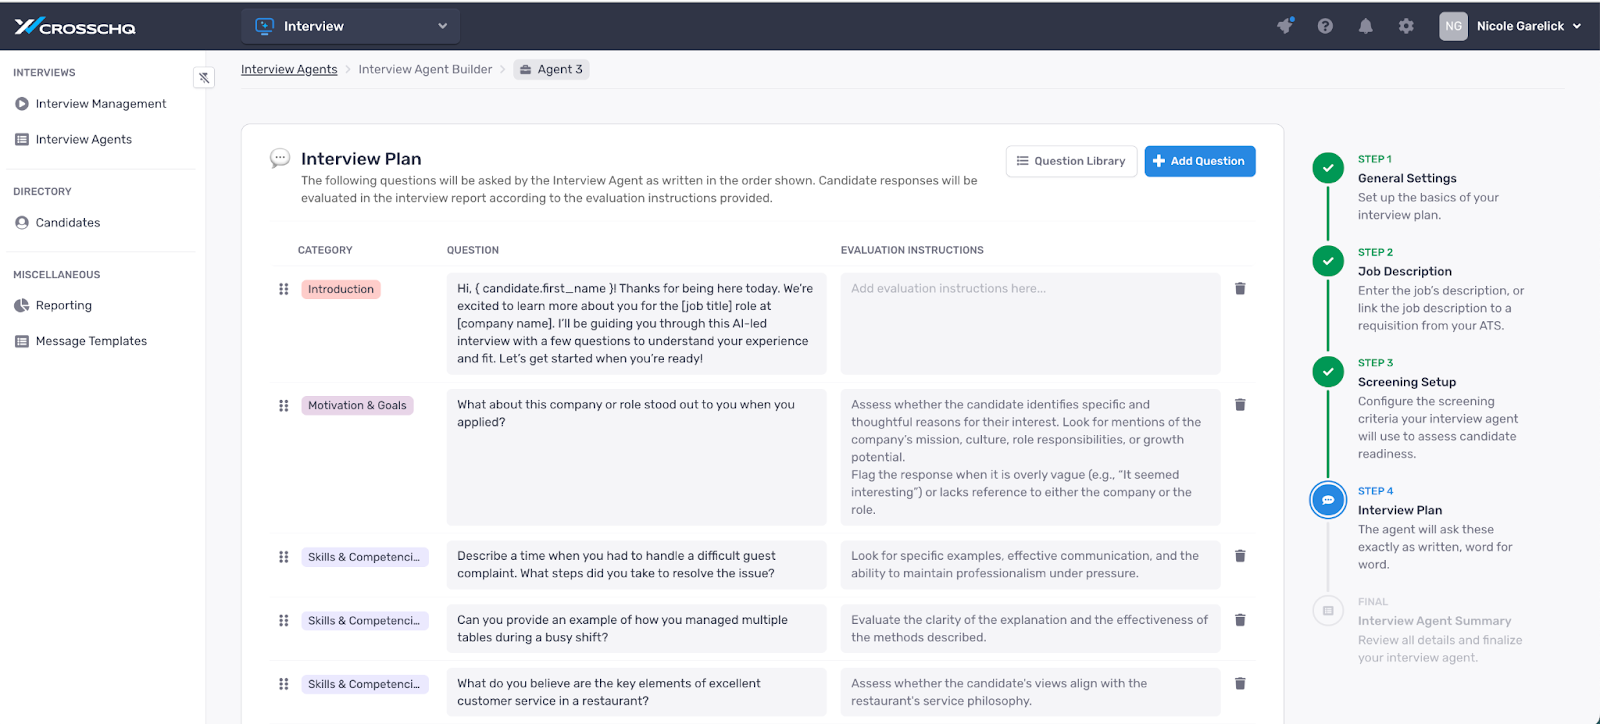
In the next page, review and edit qualifying questions.
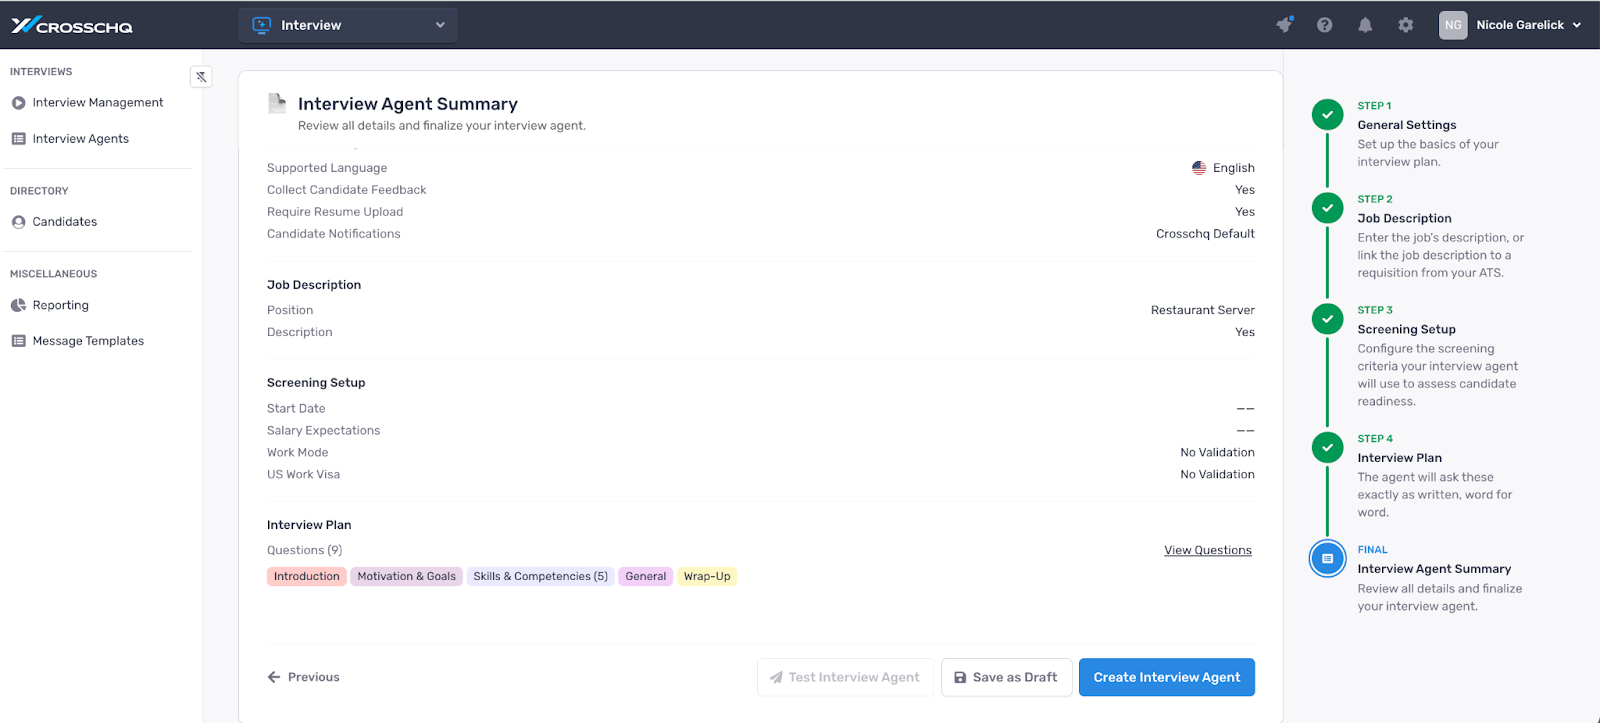
Finally, refine the interview plan, review the agent and click Create Interview Agent.
Setting up the connector
Creating Crosschq Interview custom field
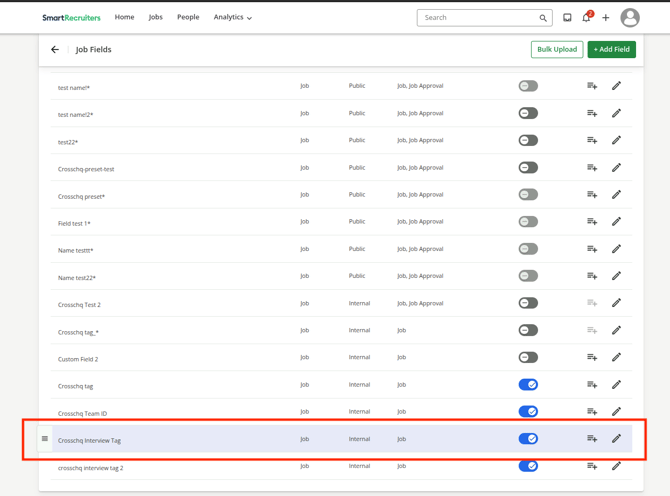
Access the Settings section of the SmartRecruiters admin facility, locate the Job Fields link within the Configuration section, and click it.
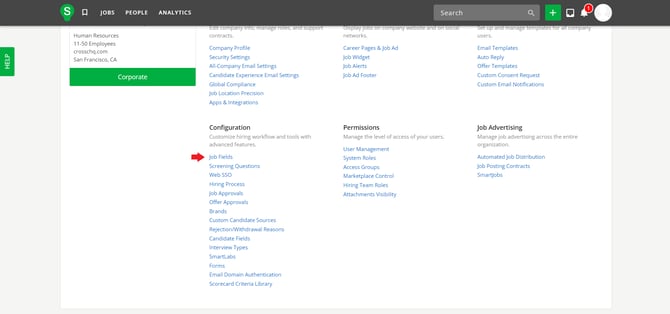
On the Job Fields page, create a new field with the name "Crosschq Interview tag" and the following setup:
- Type = single text;
- Category = job;
- Visibility = internal;
Then press "Save".
.png?width=670&height=391&name=image%20(75).png)
To add values to the field, navigate to the Interview Agents page in Crosschq, copy your specific agent tag, and paste it into the Value name field and click Add. You may add as many values as there are agents you intend to use in SmartRecruiters. Once all necessary tags have been added, click Save to complete the configuration.
.png?width=670&height=199&name=image%20(76).png)
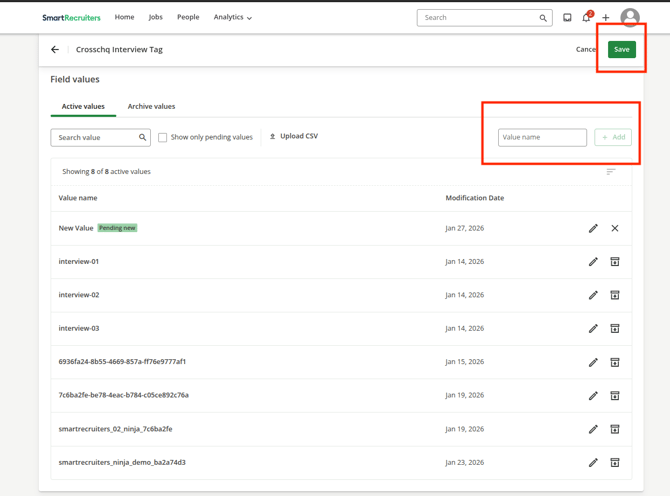
Make sure the field is active.
Assigning a Crosschq Interview Agent to a Job
To assign an Agent to a specific job, navigate to the Job page in SmartRecruiters and select Job Details. Scroll down to the Job Fields section and click Edit.
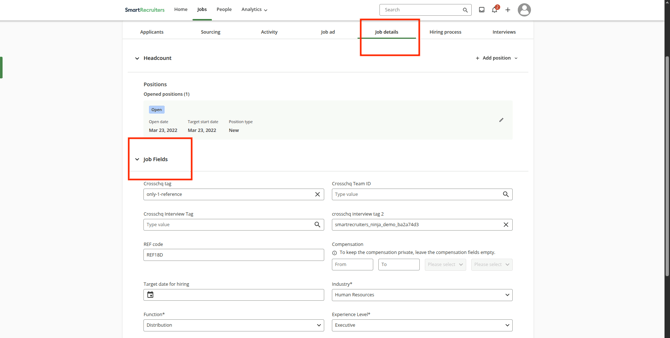
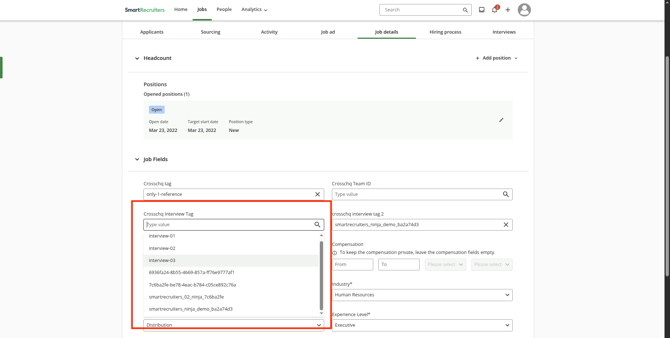
In the Crosschq Interview tag field that was created previously, select the specific Agent tag you intend to use for that job and click Save.
Add Crosschq Interview Agent as a step in the hiring process
Next, navigate back to the Settings section and access the Hiring Process link within the Configuration section.
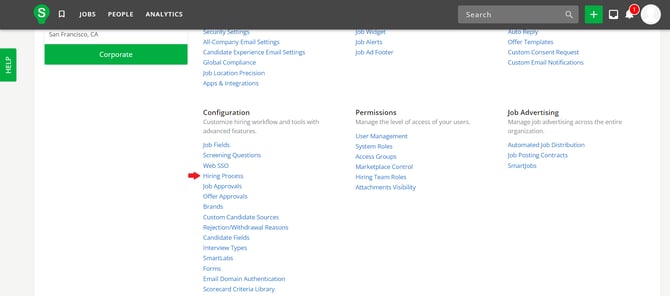
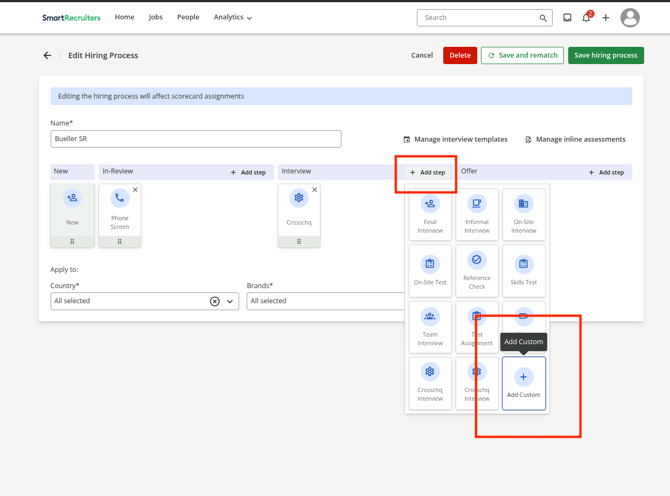
On the Custom Hiring Process page, click Edit > Add Step > Add Custom and type "Crosschq Interview Agent" to add it as a step in the hiring process, then click save.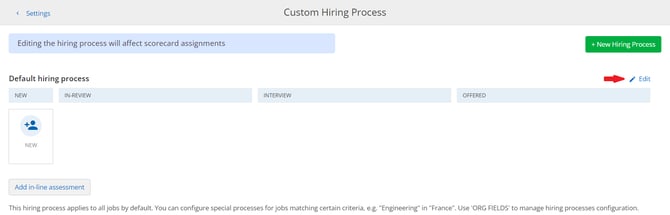

Requestor
Read this section to understand how users in the ATS are going to be assigned to the Crosschq request.
Crosschq pulls the Recruiter information from the job's Hiring Team in SmartRecruiters.
- Crosschq will assign as requestor the SmartRecruiters user listed as "Recruiter" within the Job's hiring team. If there is more than one user with recruiter permissions, Crosschq will select the first in the list.
Sending an Interview from SmartRecruiters
How to send a Crosschq Interview from SmartRecruiters
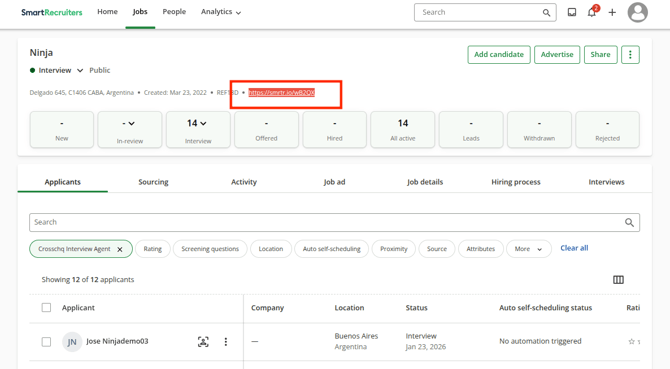
To send an Interview for a specific candidate, go to the Job's page and click the link.
On the page that opens up, click I'm interested.
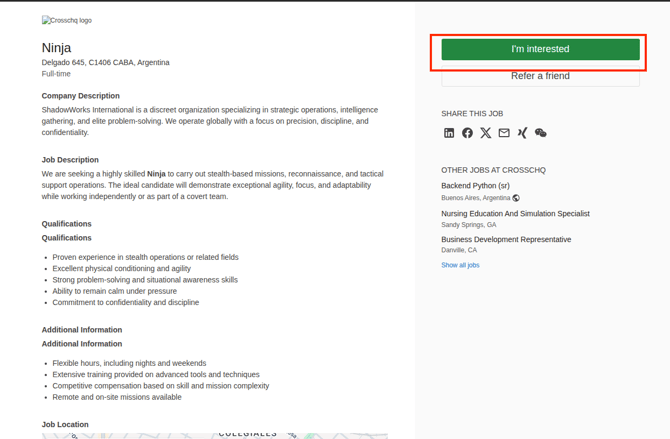
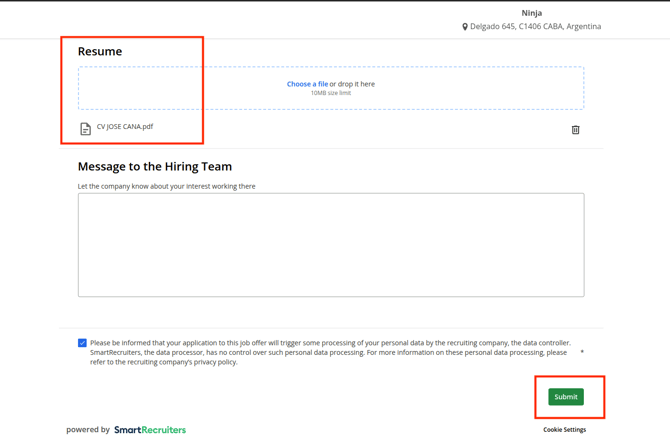
On the next page, complete the required candidate's information and upload the candidate's resume.
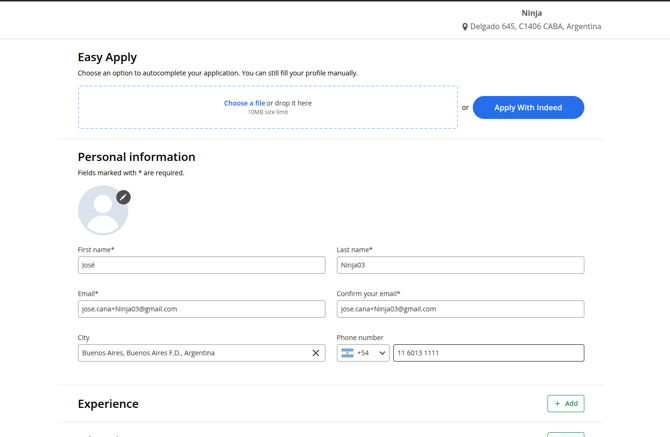
Finally, click to accept the Terms and Conditions and click Submit.
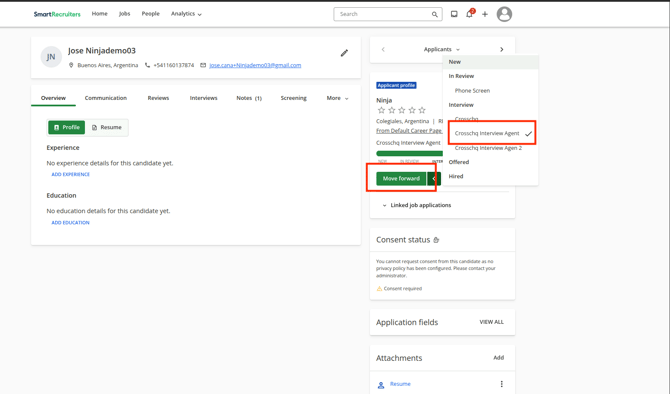
Next, find the candidate in People's page, and move them to the Crosschq Interview Agent stage.
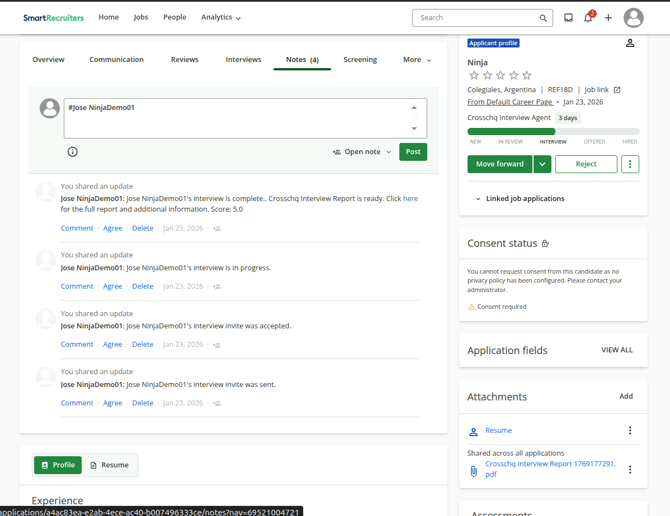
How to view a Crosschq Interview Report
To view the report, locate the link in the Notes section on the Candidate page in SmartRecruiters.
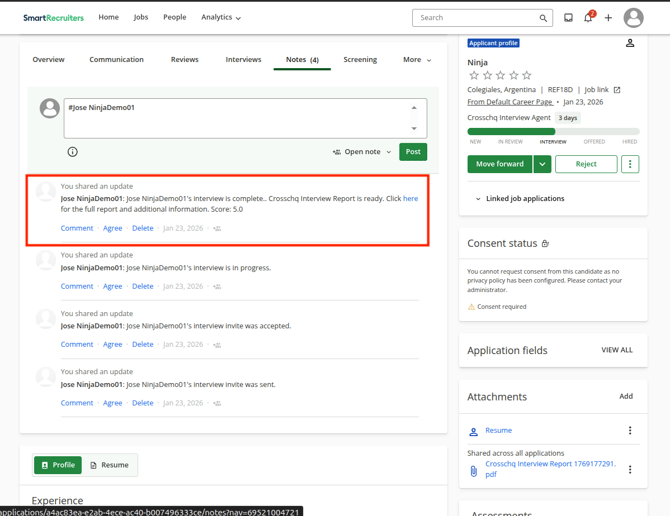
You can also find in the attatchments section.
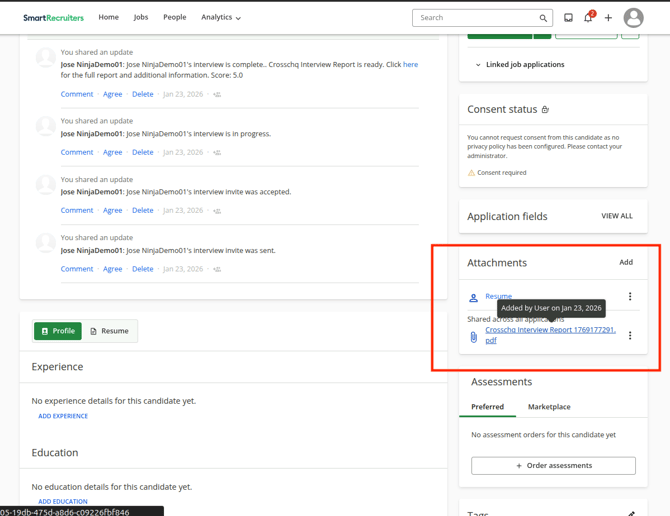
Each status change in the interview process is also tracked in the Notes section of the candidate's profile.