Teamtailor Connector for 360
The Teamtailor connector integrates your ATS data with Crosschq 360.
Follow the steps below to connect Teamtailor with Crosschq:
Enable the Teamtailor integration
To connect Teamtailor with Crosschq, you must first enter the Crosschq API key into the Teamtailor platform.
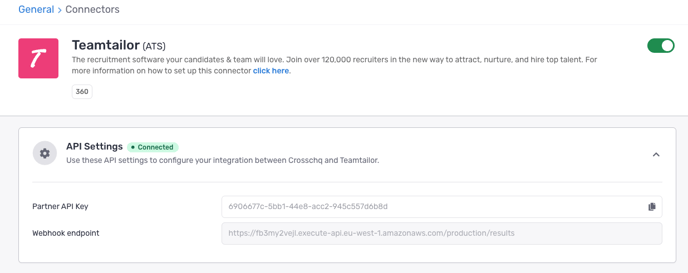
Go to Organization Settings > Connectors > Teamtailor, select the toggle to enable the connector, and copy the Partner API Key using the copy button.

Next, follow the steps in this article to set up the integration within Teamtailor: https://support.teamtailor.com/en/articles/8345688-partner-crosschq-reference-check
Additional 360 configuration
Configure Crosschq templates
Templates are reference request configurations that are used to trigger requests from ATS connectors. You have to set up your Crosschq templates to be able to send Crosschq requests from an ATS.
Within Crosschq, go to Organization Settings > Templates. Select Create New Template.
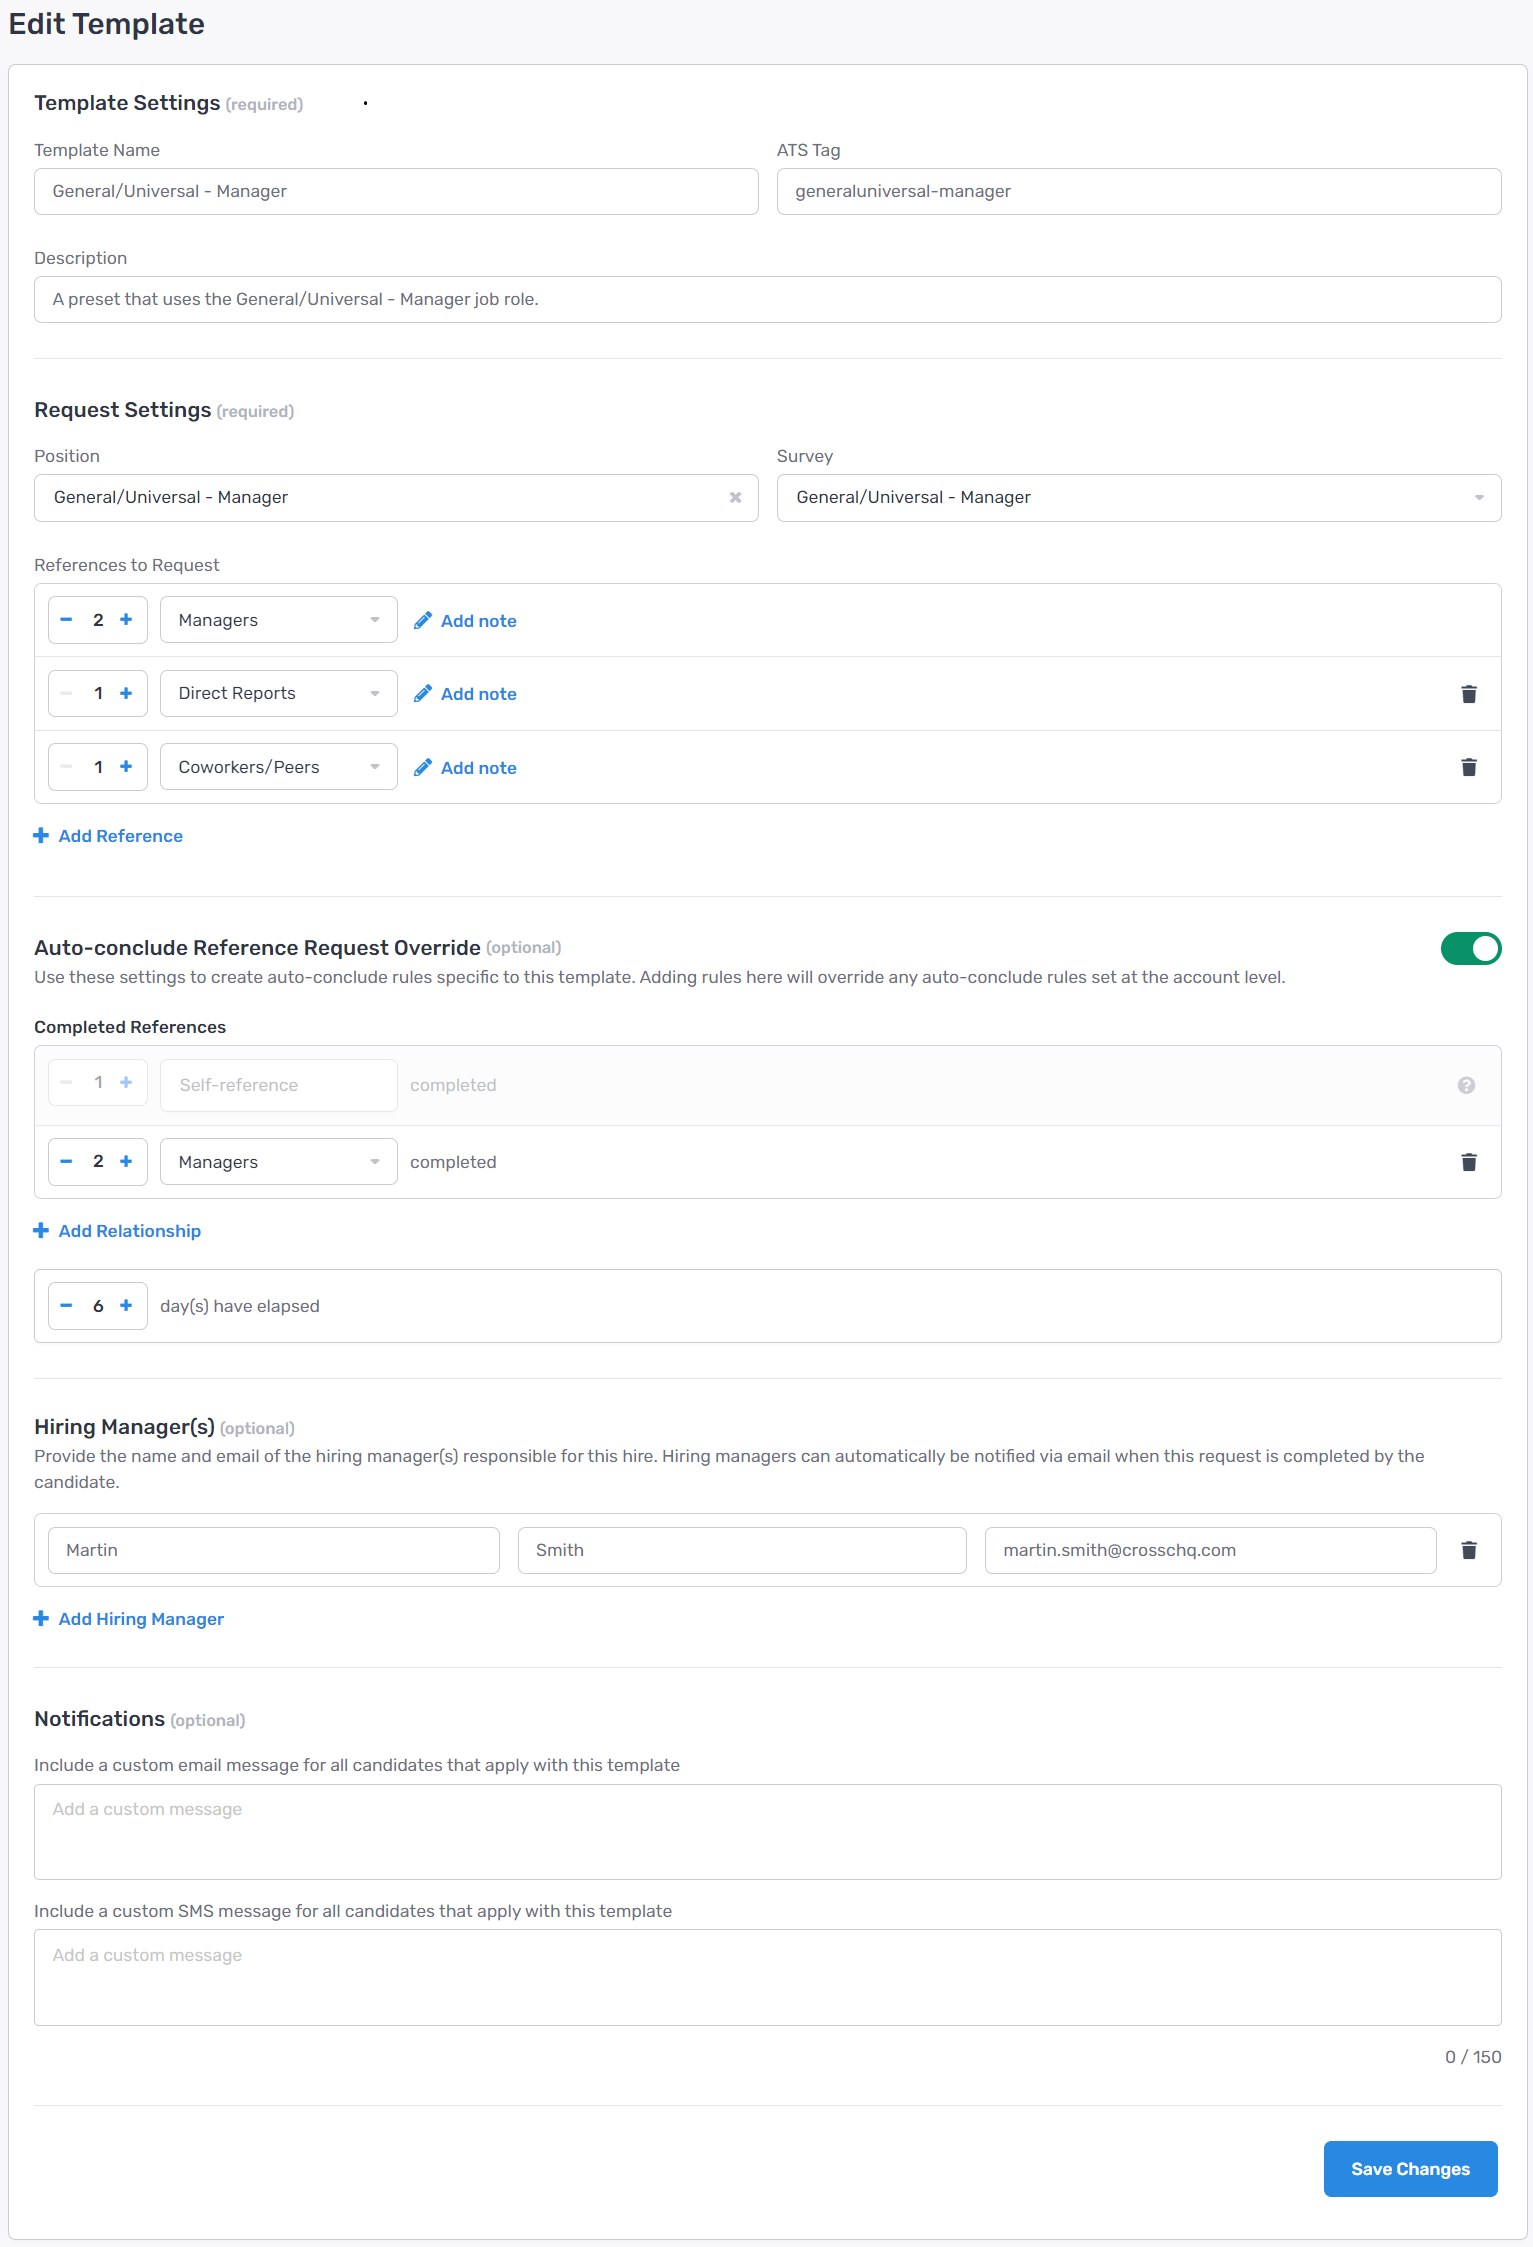
Enter the required information such as the template name, add an ATS Tag for that template, and create a description of the template.
Within the Request Settings, add in the position, select the appropriate survey, and configure the number/type of references you want to be associated with this request. Please note, the relationship type can either be specified or you can select any relationship type and let the candidate determine the type of reference. Additionally, you can add customized notes to each specific reference request, i.e. "Please provide a manager reference from X company."
From there, add optional hiring manager information. Finally, you can create custom emails or text messages associated with each template by filling out the custom notifications section. When you are done, select Create Template.

At any point, if you need to edit or delete a template select the three dots next to the template and you will be able to manage from there.
