Follow the steps below to connect Workable with Crosschq:
- Enable the Workable integration
- Configure API settings
- Configure app settings
- Additional 360 configuration
Enable the Workable integration
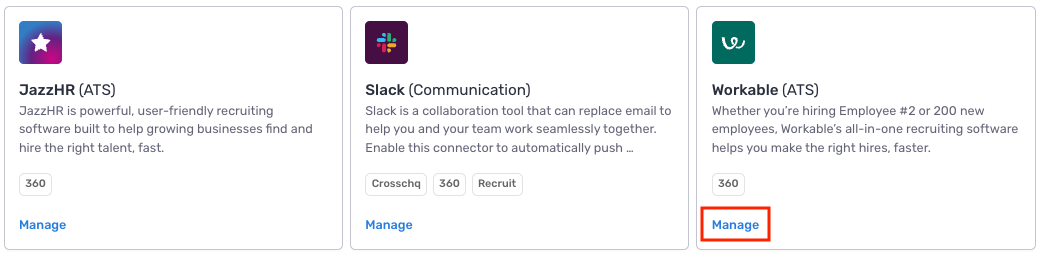
Search for the Workable connector from Organization Settings > Connectors. Click Manage from the Workable section.
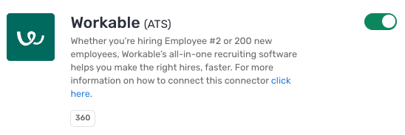
 On the next page, turn on the Workable connector by clicking the toggle on the right. The toggle should turn green.
Configure API settings
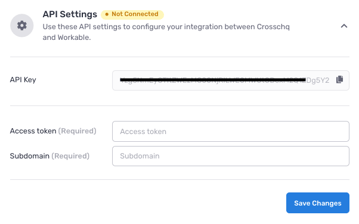
An API key is stored within the Workable API settings. Copy this API key, and on a new browser tab, login to your Workable portal.
In Workable, go to Settings > Integrations and scroll down to locate the Crosschq App in the integrations list. Hover over the Crosschq app, paste the API key in the Key field, and click Update Settings.
Next, between the same section scroll up to the API Access Tokens section. Select Generate API token to create a specific token for Crosschq.

In the name field, enter "Crosschq" and choose a 2-year expiration. Then, make sure to enable the following scopes:
- r_candidates
- r_jobs
- w_candidates
- w_comments
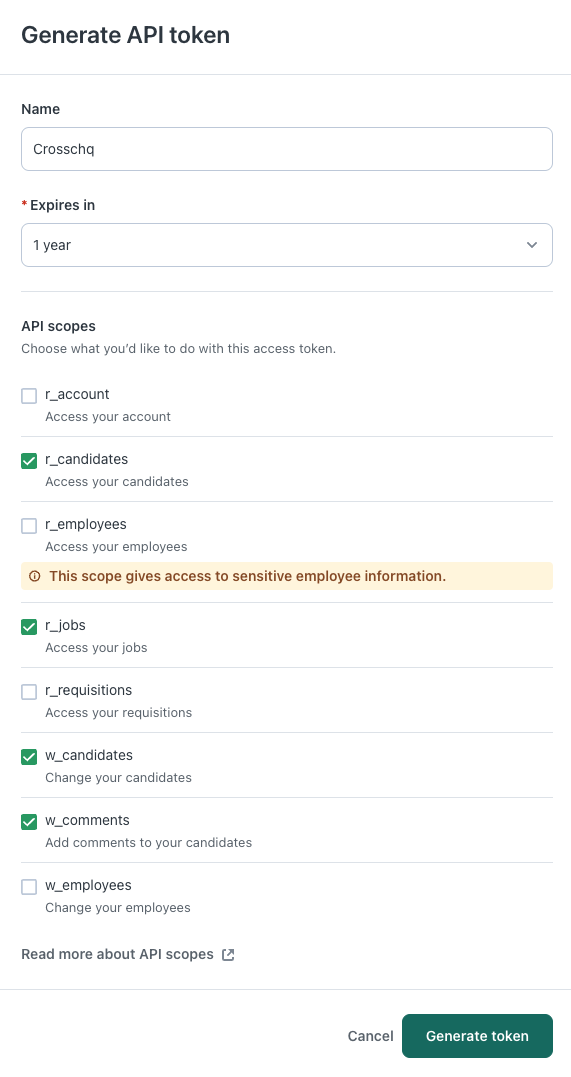
Click on the Generate Token button and make sure to copy the token that has just been generated.
Within Crosschq, paste the access token in the API settings within the Workable connector.
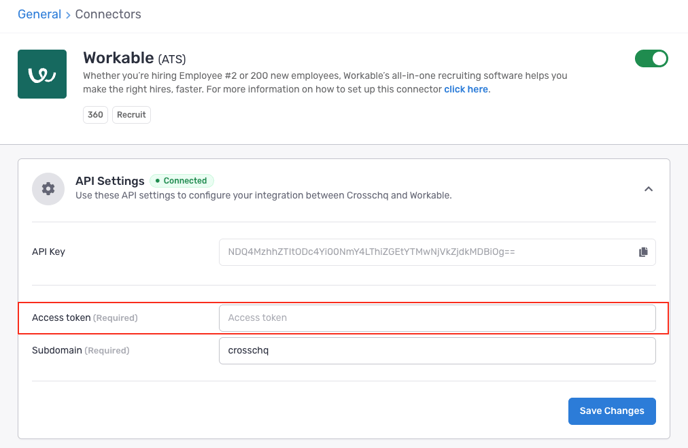
Navigate back to Workable, go to Settings > Company Profile, and locate and copy the Subdomain field.
Back in Crosschq, paste the subdomain in the API settings within the Workable connector. Once the access token and subdomain are entered, click Save Changes.
Configure app settings
Once your API settings are saved, you can configure additional settings for specific Crosschq Apps.
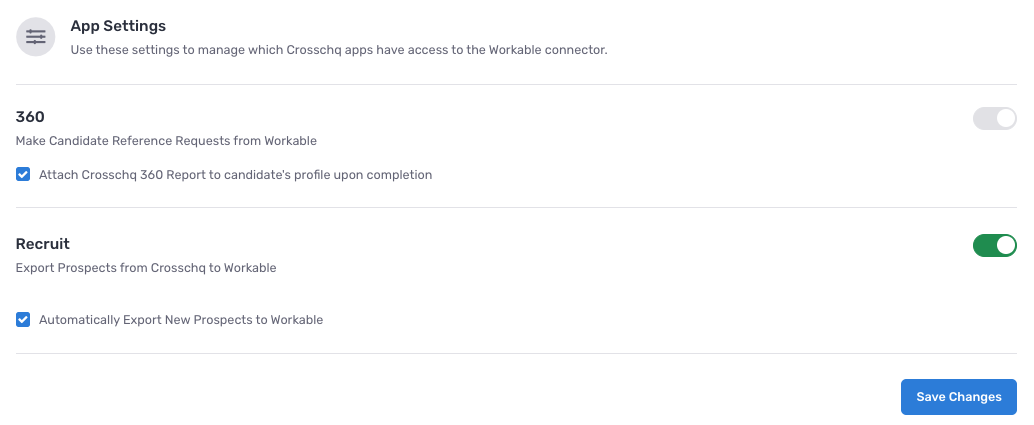
360 settings
When you enable Attach Crosschq 360 Report to candidate's profile upon completion, we will upload completed reference reports to the candidate's profile in Workable if the reference was initiated from the ATS.
Recruit settings
The additional Recruit settings allow you to export prospects from Crosschq to Greenhouse.
You can manually export prospects from the Recruit app, or you can enable the Automatically export new prospects to Workable box.
Additional 360 configuration
The following sections will outline extra steps to make sure your Greenhouse connection is successfully linked.Configure Crosschq templates
Templates are reference request configurations that are used to trigger requests from ATS connectors. You have to set up your Crosschq templates to be able to send Crosschq requests from an ATS.
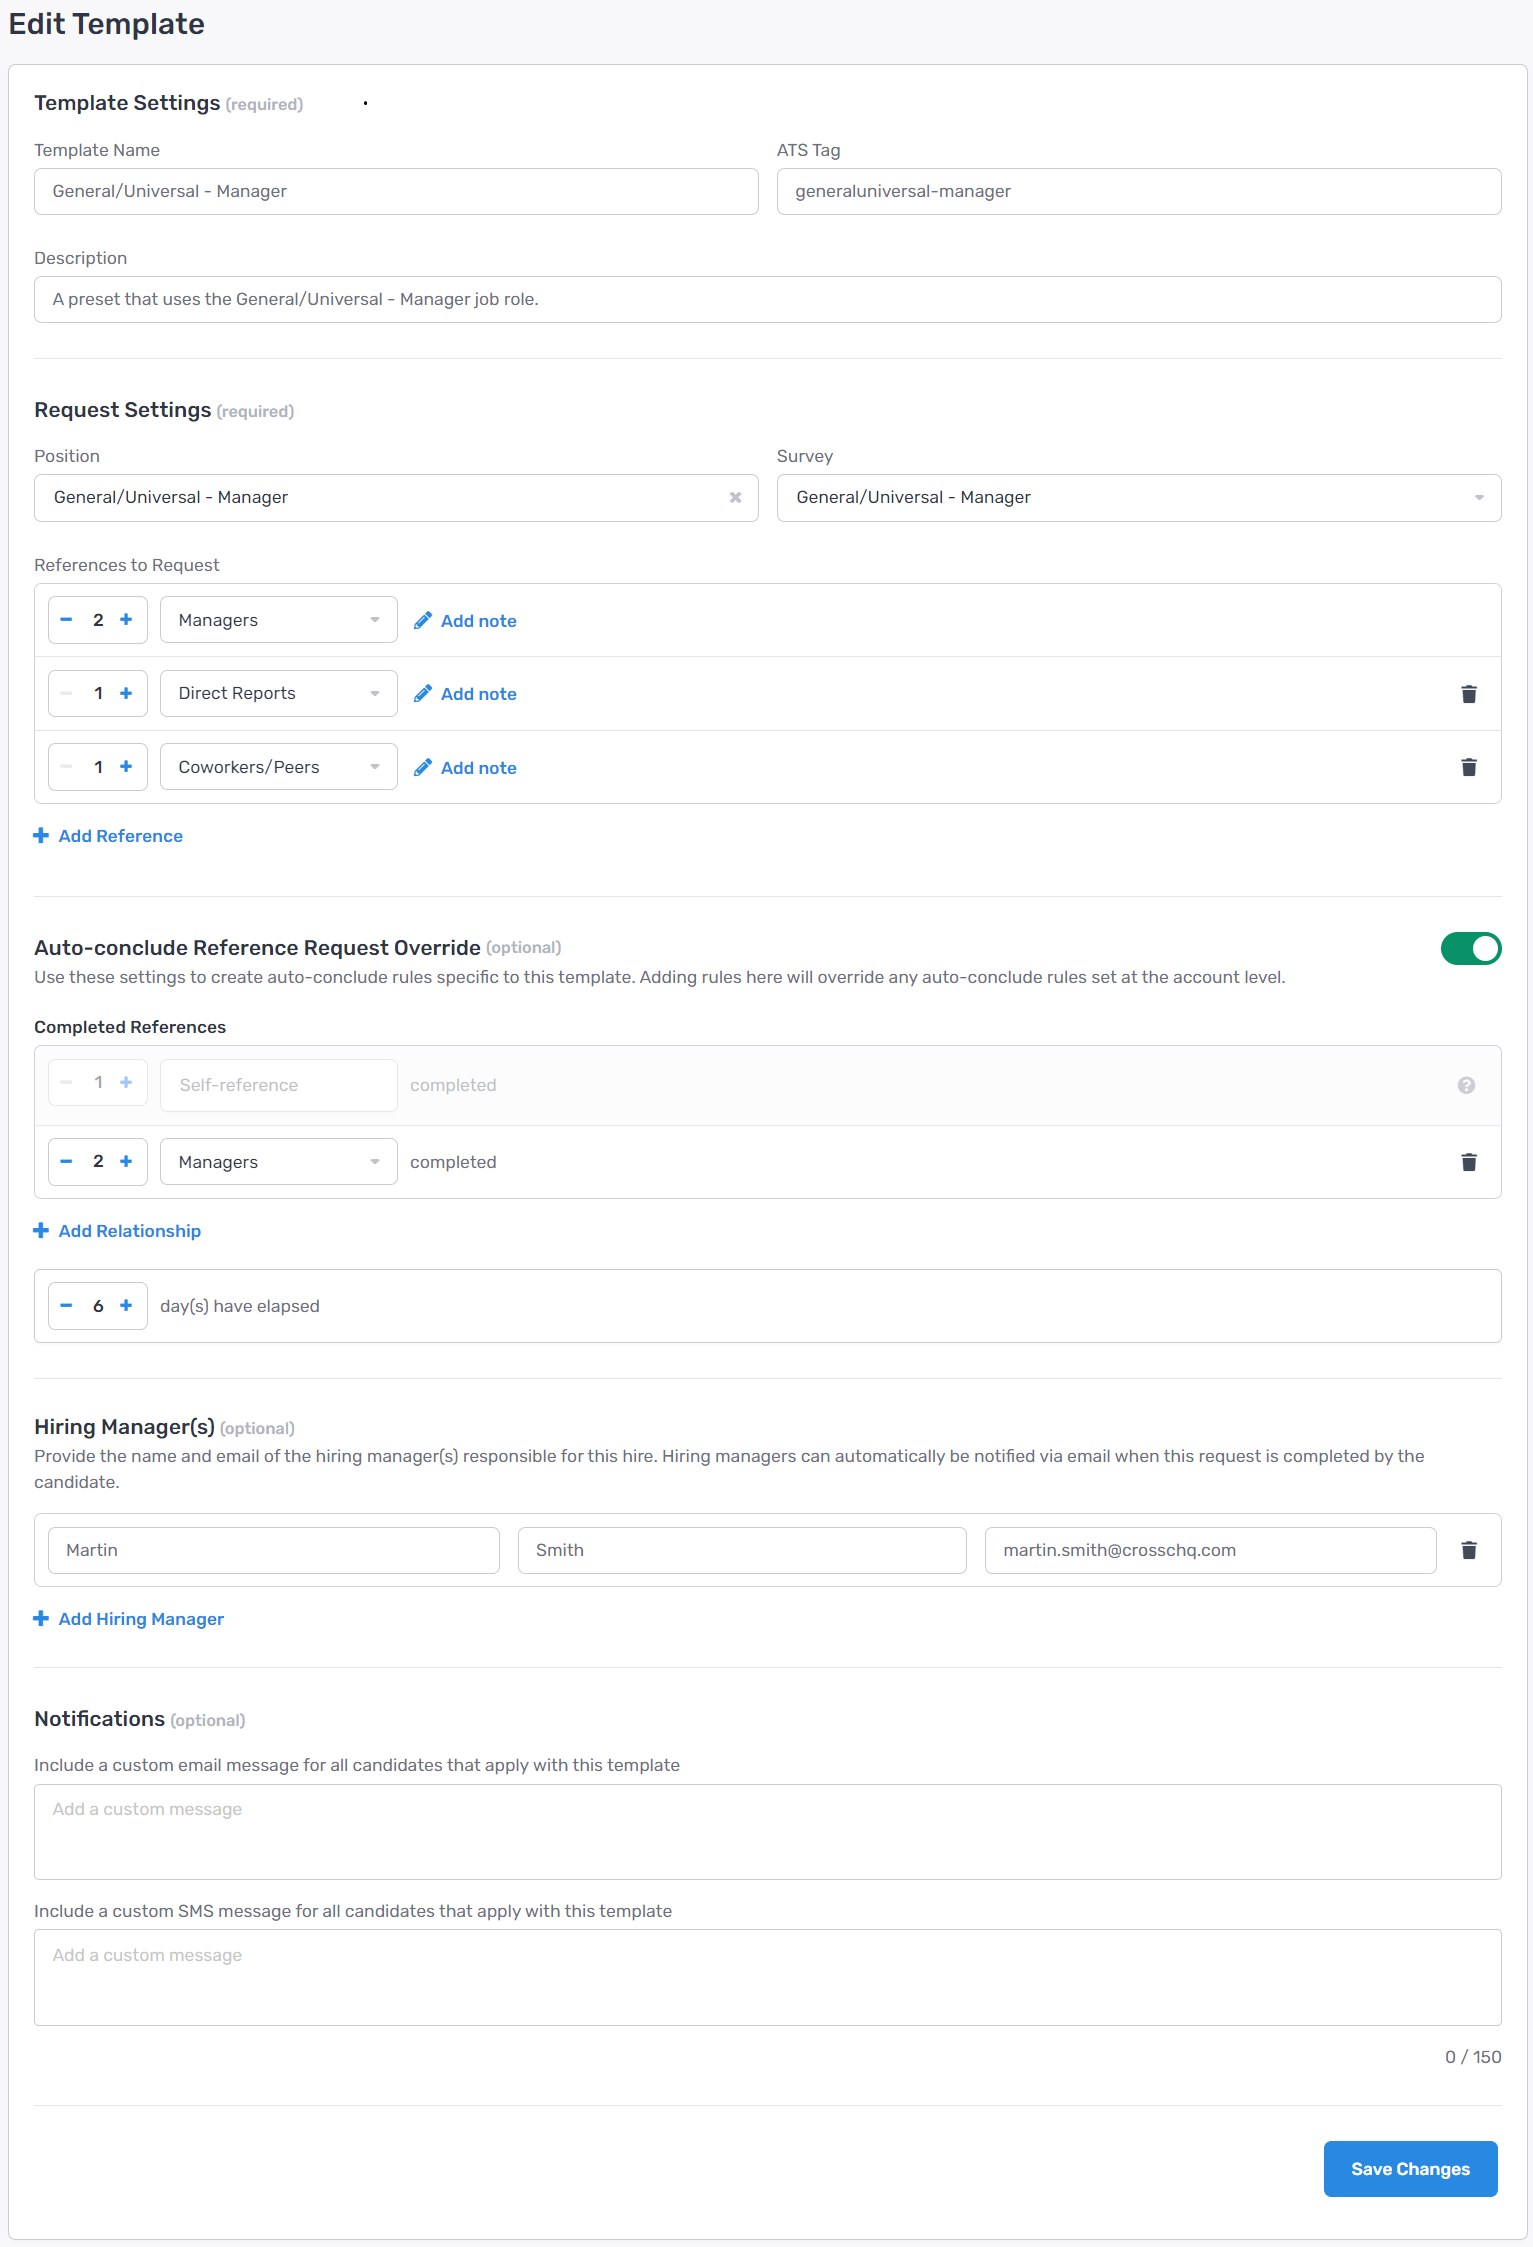
Within Crosschq, go to Organization Settings > Templates. Select Create New Template.
Enter the required information such as template name, add in an ATS Tag for that template if required, and create a description of the template.
Within the Request Settings, add in the position, select the appropriate survey, and configure the number/type of references you want to be associated with this request. Please note, the relationship type can either be specified or you can select any relationship type and let the candidate determine the type of reference. Additionally, you can add customized notes to each specific reference request, i.e. "Please provide a manager reference from X company."
From there, add in optional hiring manager information. Finally, you can create custom emails or text messages associated with each template by filling out the custom notifications section. When you are done, select Create Template.
At any point, if you need to edit or delete a template, select the three dots next to the template and you can manage from there.

Requestors and Hiring Managers
Crosschq will pull the reference requestor from the Team Member list associated with each job in Workable.
Crosschq will select as the requestor the Workable user with Recruiting Admin permissions, listed as a team member in the job. If there is no user with recruiting admin permissions listed within the job, Crosschq will select the user with Super Admin permissions as the requestor. If there are no users with recruiting admin or super admin permissions, Crosschq will assign the user with Hiring Manager permissions as the requestor.
If there is only one team member associated with the job, that user will be selected as the requestor, regardless of their role.
Note: if there are no team members listed within the job, then the Crosschq admin user will be the requestor by default.
The rest of the users in the team members list will be listed as Hiring Managers in the Crosschq request.
Crosschq also offers the option to assign only the Workable Admin users in the team members list as Hiring Managers in the Crosschq request, ignoring all other users in Workable. Reach out to support@crosschq.com to enable this feature.
Sending a Crosschq from Workable
Once you have moved your candidate to the assessment step, locate the three dots at the top of your candidate's profile and select Perform a Reference Check.

This will create a new process in your candidate's timeline. Select the Crosschq survey using the drop-down menu and click Perform Reference Check. Your candidate will automatically receive the Crosschq request.
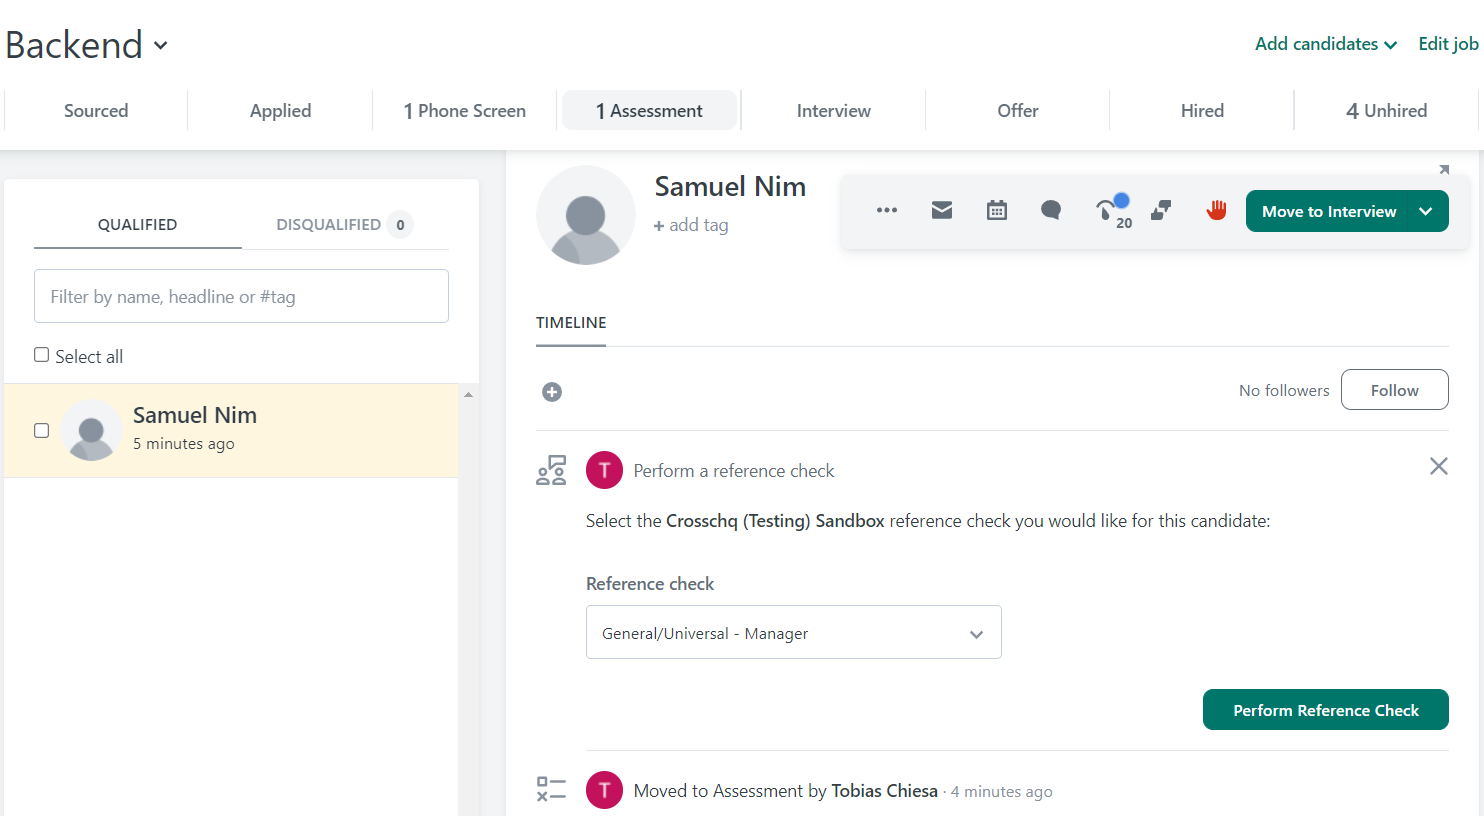
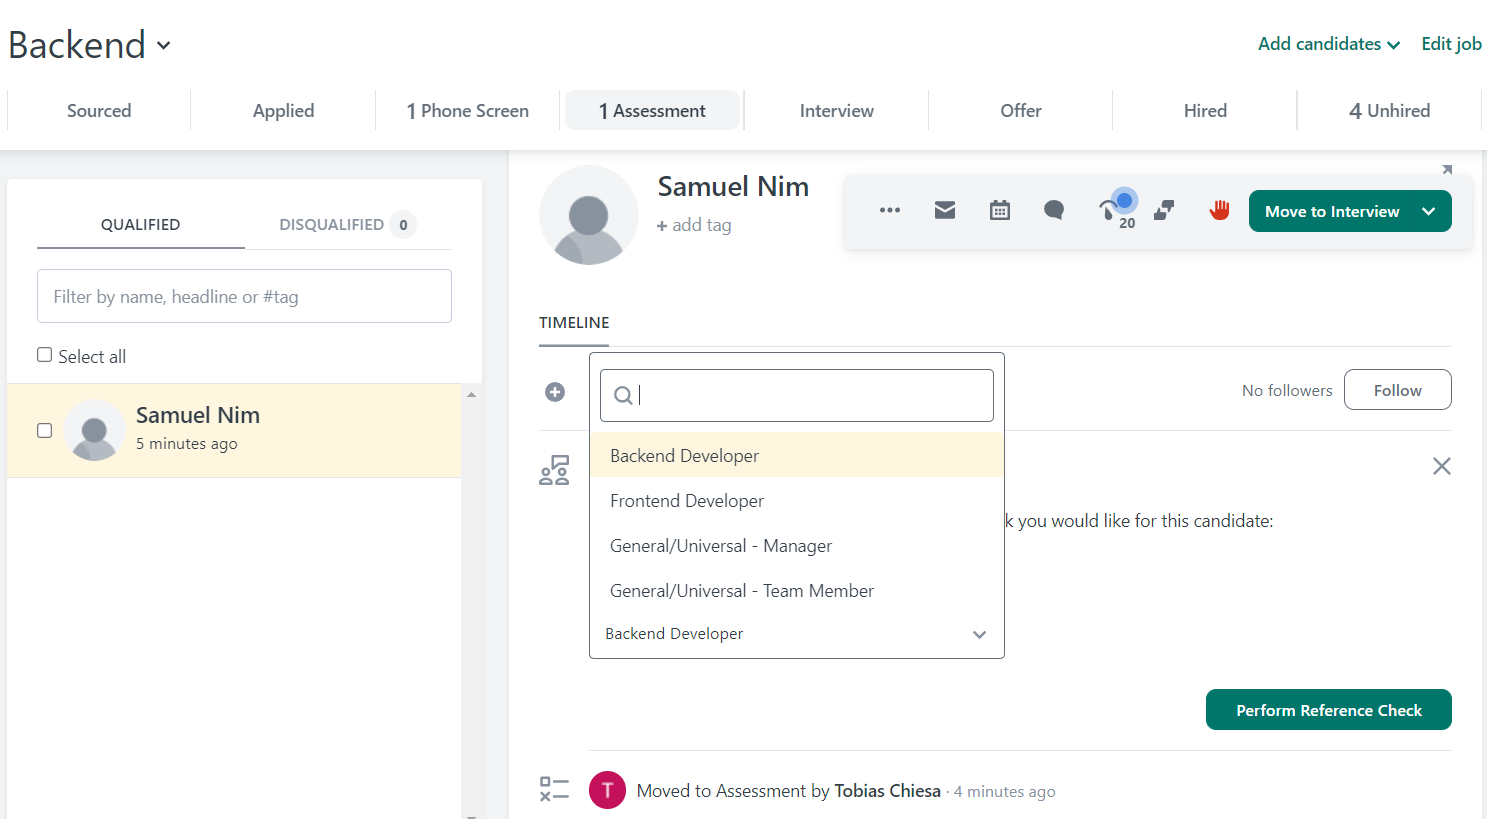
Note that the drop-down menu will show the Crosschq templates created before. It is important to create one template for each survey type.
Viewing a Crosschq report
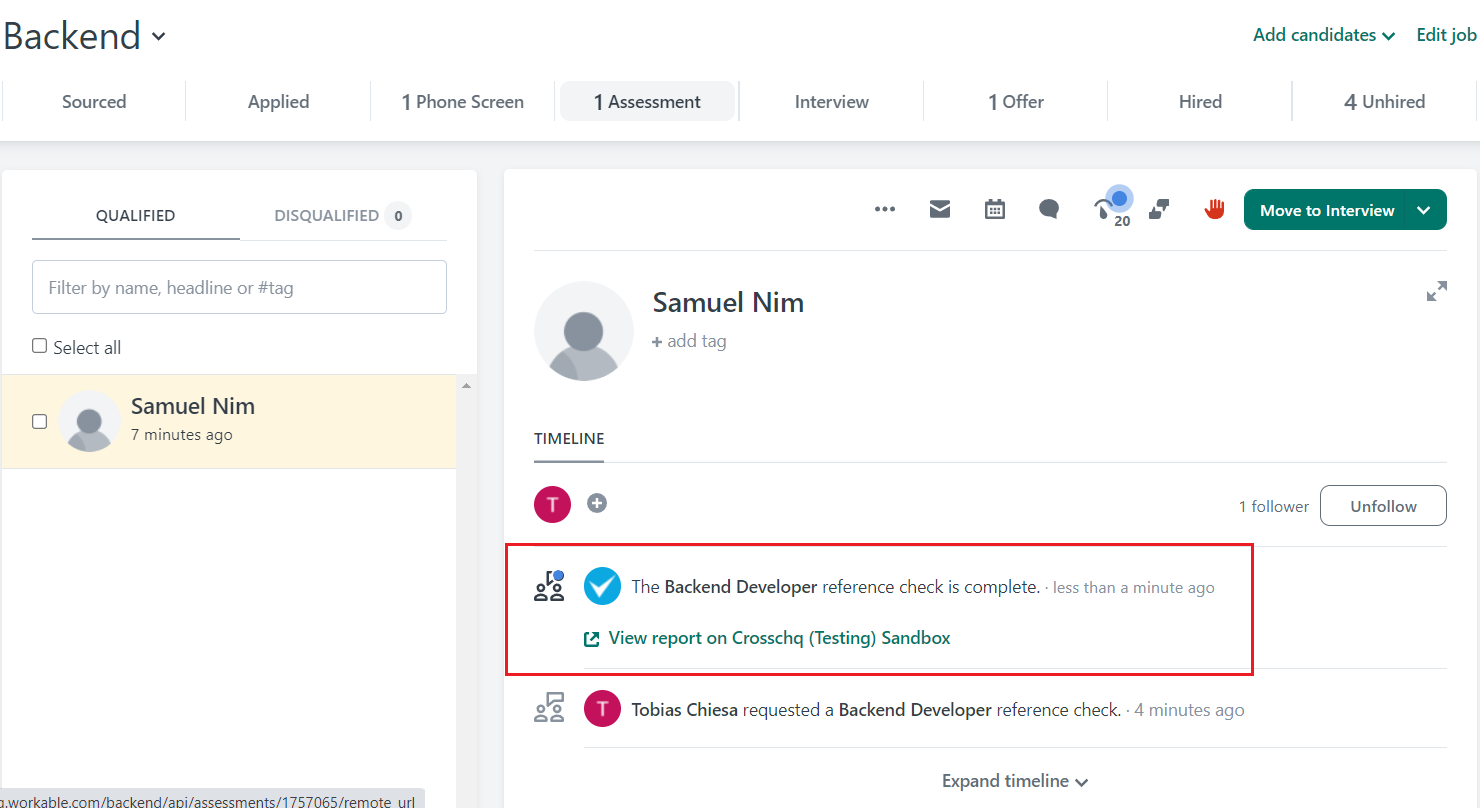
Within a candidate's timeline in Workable, a comment will be posted for every reference request status change.
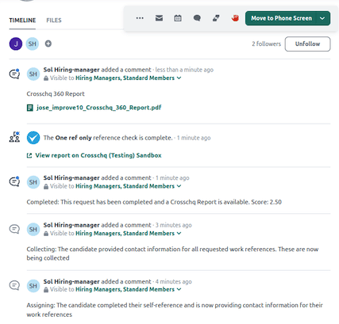
The recruiter listed as the reference requestor will receive a notification once the reference request has been completed. You will be able to access the Crosschq report by accessing the candidate's profile and selecting View Report on Crosschq.
Hiring status
Crosschq will automatically update the hiring status after the candidate is moved to the hired stage in Workable.
Workable:
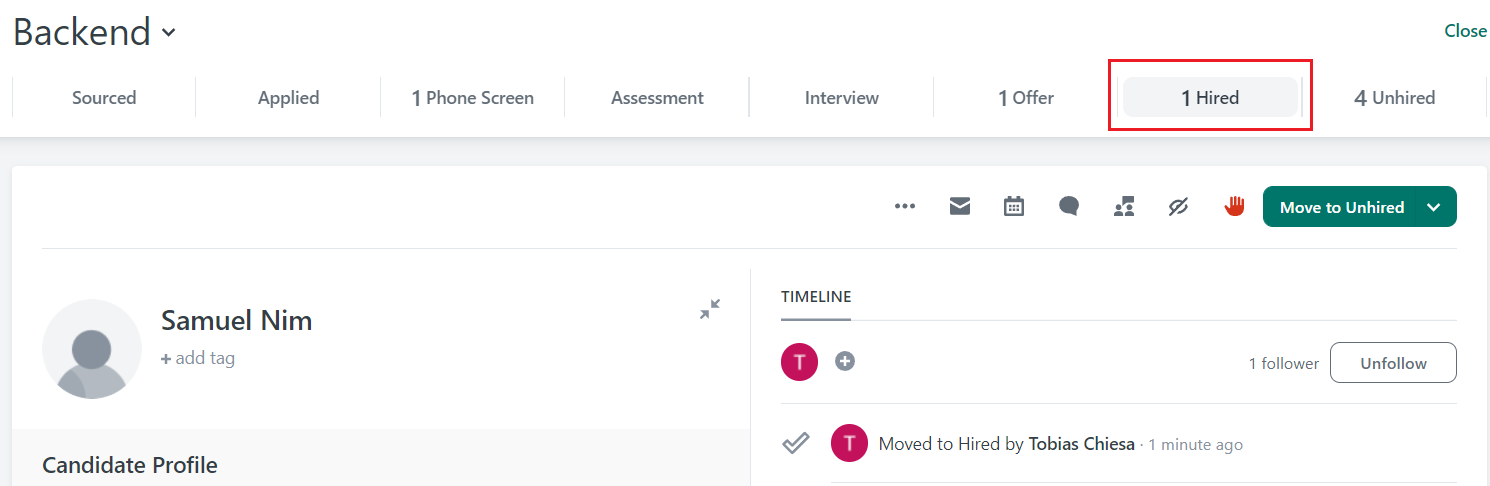
Crosschq:

We have implemented a new auto-cancelation feature, now when candidates are marked as rejected they will automatically have their reference request canceled within Crosschq.