In lieu of an ATS integration, candidates can be added to Voice via manual import, allowing surveys to be sent independently from an ATS-triggered event.
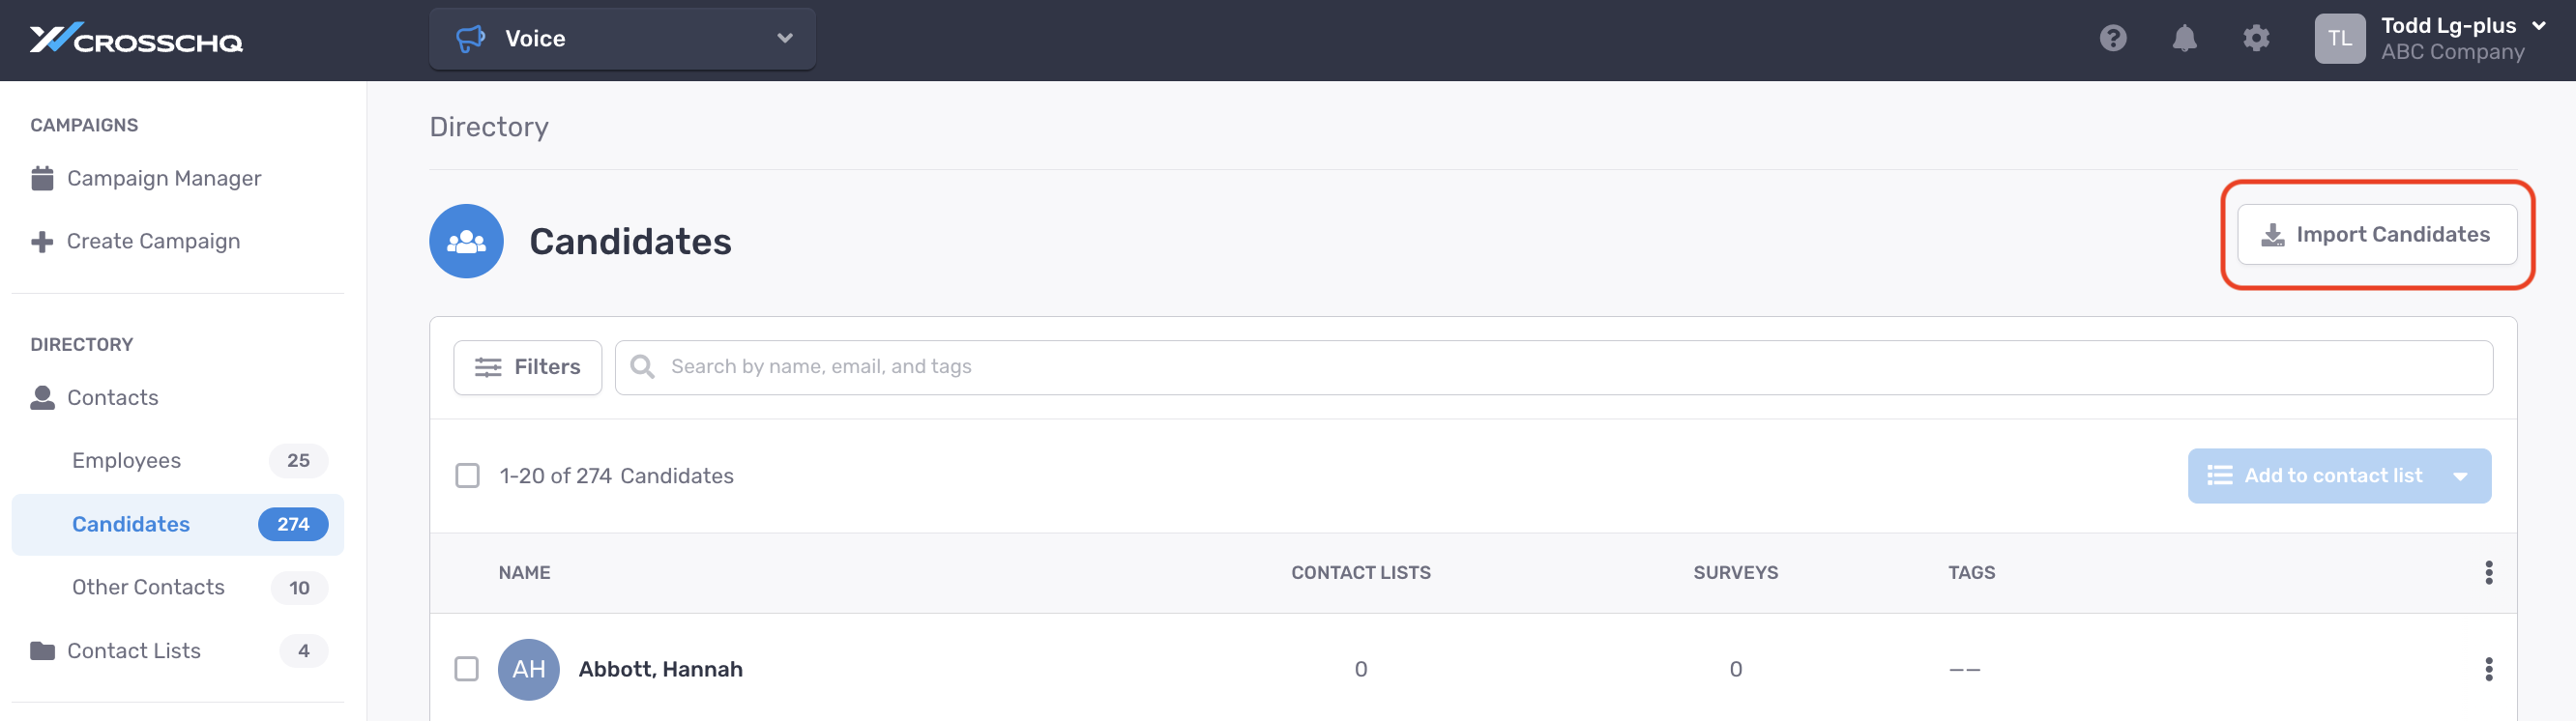
From the Voice app, navigate to Contacts. Select the Candidates directory. From this section, click the button, Import Candidates.
A new window will appear prompting you to upload your candidate data source.
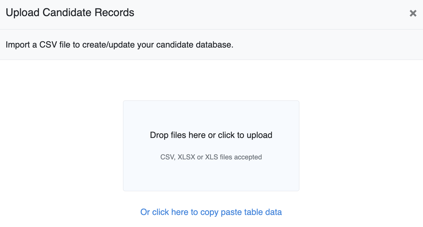
Use this template to input the candidates for your import. At a minimum, required columns are First Name, Last Name, and Email. Alternatively, you can select click here to copy paste table data; this feature will allow you to paste spreadsheet data directly on the wizard without needing to upload a source file.
Within the import template is a column called, Disposition. Updates to this column's value can be used to trigger surveys in lieu of an ATS integration. For more information, read here.
Once the data has loaded, you will be taken to a new window where you will map the import fields with the columns from your upload. The dropdowns on the right will show you all of the columns pulled from your upload. Select the correct column that corresponds to the field names on the left.
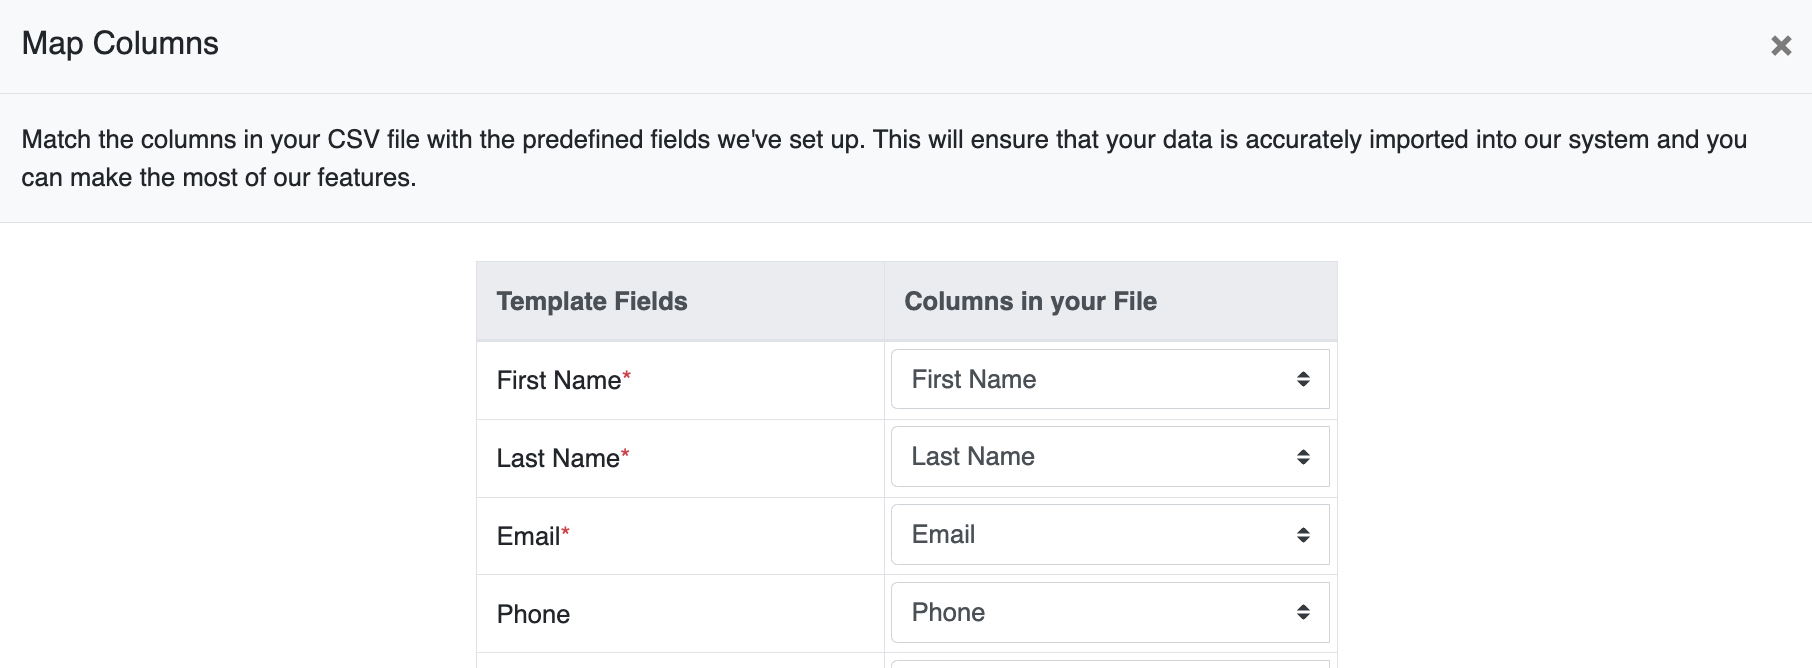
Click Next once the mappings are complete.
Afterward, you will be directed to a window to verify your candidate data. Each candidate will be exposed as a row of data. You can click into each field cell to make any final edits before the candidates are uploaded to Crosschq.
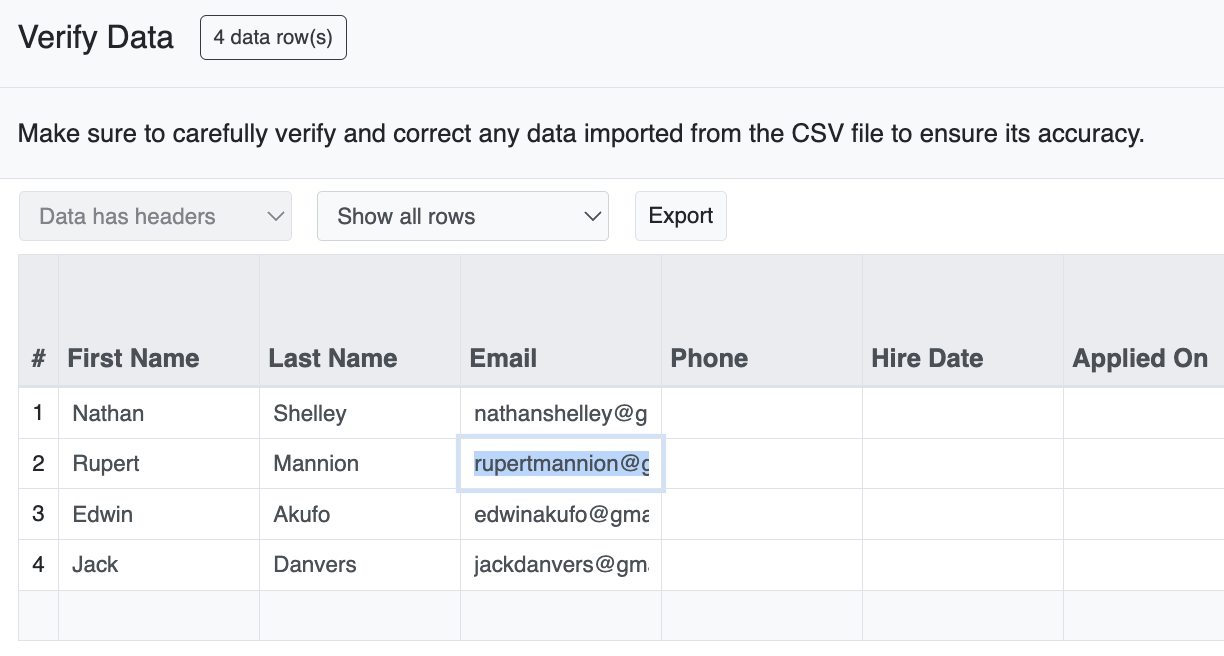
If you scroll to the right of the matrix, you will also be given the option to add more rows in case you needed to include extra candidates that were not part of your initial source file.
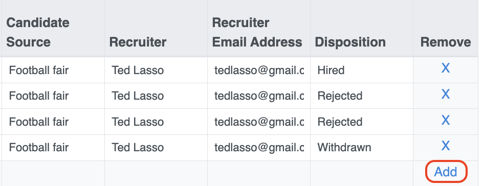
Click Submit once your candidate data has been verified.
The next window will provide a breakdown of the candidates in your upload.
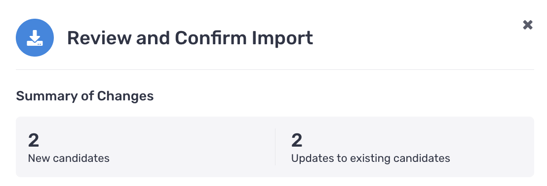
Candidate uniqueness is determined by the record's email address. A new candidate is considered a record who's email has not yet been stored in Crosschq. An existing candidate is considered a record who's email already exists in Crosschq. Existing candidates' data will reflect the most recent upload that included them as a record.
In the same window, you will also have the option to add your candidates to a contact list. Contact lists are used to send ad hoc Voice surveys. Read here to learn more.

Optionally, you can also apply tags to candidates from a specific import.
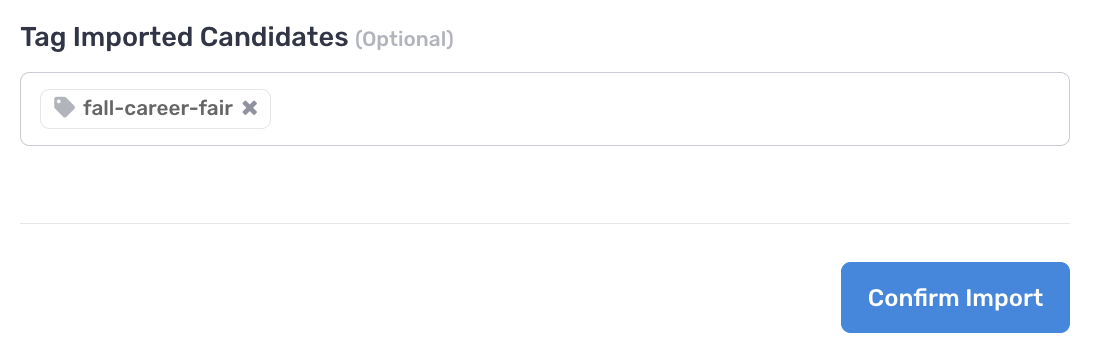
Click Confirm Import to start processing the upload.
If you have added values under the Disposition column, read here to learn about other ways that surveys can be triggered to these candidates.
Once imported, the candidates will be stored and visible from the candidates directory in Voice. A manual campaign can now be created using these candidate records. Read more here to build a Voice campaign.