In this article, we will cover:
- Creating a campaign
- Choosing a campaign type
- Choosing an audience
- Choosing a survey
- Reviewing your messages
- Reviewing your campaign
If you plan to trigger surveys from a third party integration (e.g. ATS), make sure you enable the Voice app from Organization Settings > Connectors. Click on the supported connector, and turn on the toggle for the Voice app.
Creating a campaign
Voice campaigns define what survey is sent to recipients, the audience that will receive the survey, and the messaging in your audience notifications.
A survey is required to be sent through a campaign. To create a campaign, click Create Campaign from the menu on the left. Alternatively, from the Campaign Manager section, you can click the Create Campaign button from the right.
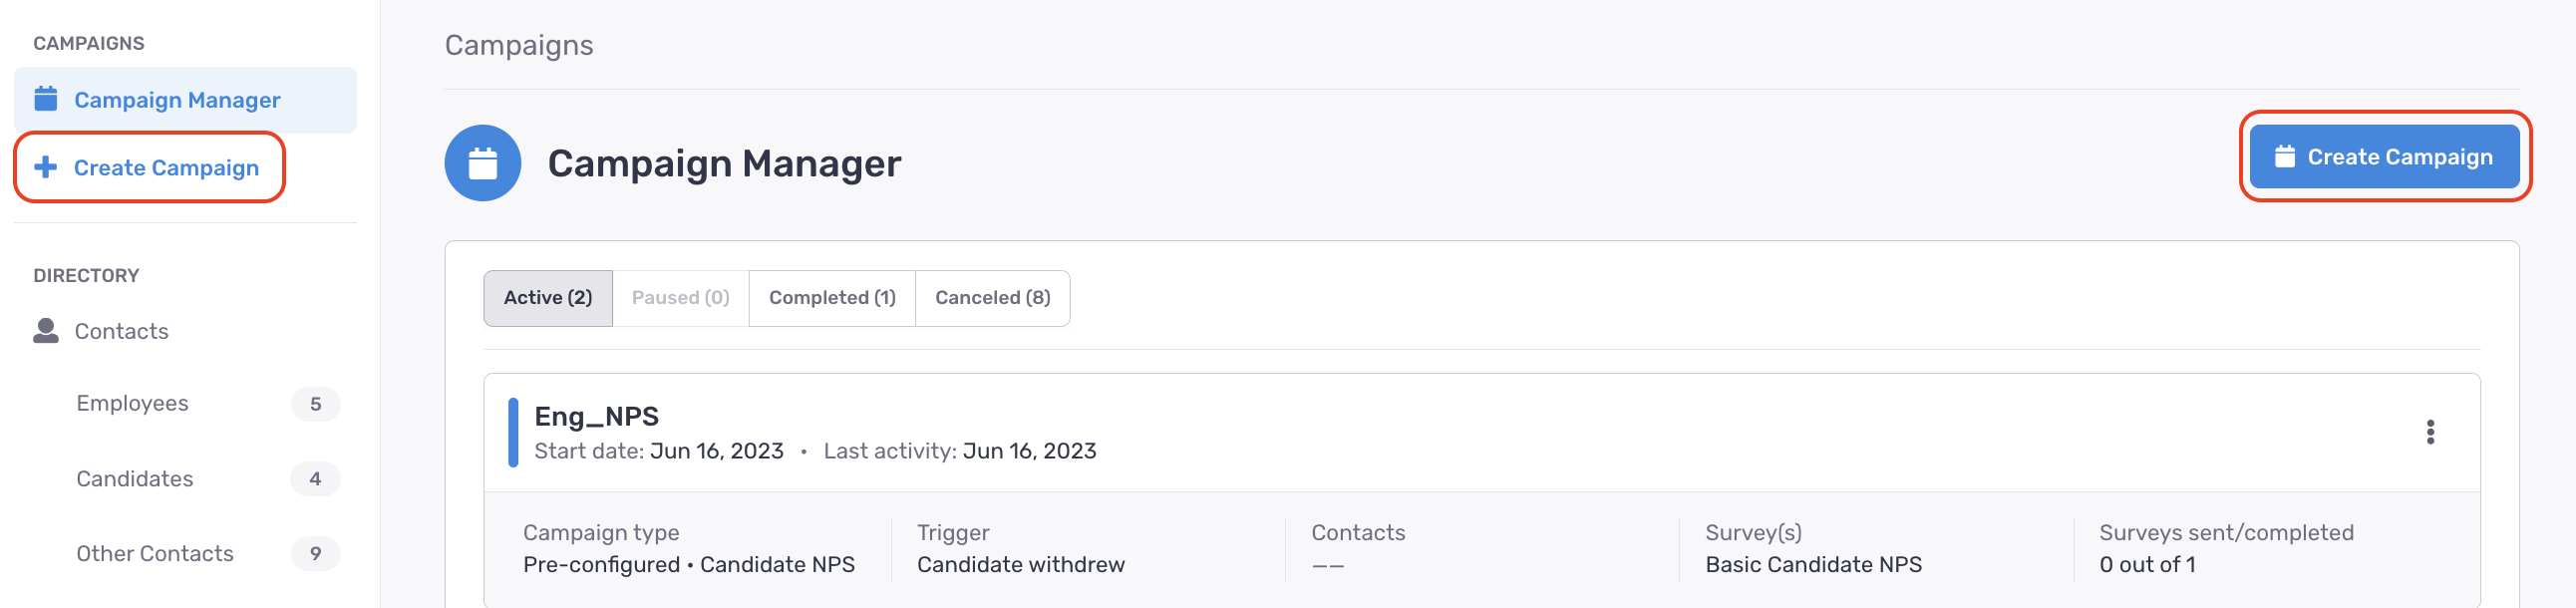
A new window will open up with a list of steps to build your campaign.
Choosing a campaign type
In the first campaign step, enter a campaign name and select a campaign type.

Campaigns types are organized by Recruiting campaigns, Quality of Hire (QoH) campaigns, Employee campaigns, and Other.
- Recruiting campaigns center around your candidate, pre-hire experience.
- Quality of Hire (QoH) campaigns center around quality of hire, post-hire experience.
- Employee campaigns center around your employee, post-hire experience.
- Other campaigns can be tailored toward other survey use cases.
There are two different campaign types:
- Manual campaigns (Contact List) pull your audience from an imported contact list. The contacts are then sent a survey all at the same time.
- Triggered campaigns (ATS or HRIS) pull your audience from either a connected integration or a data import. The contacts are then sent a survey once they meet a specific trigger criteria (e.g. a candidate getting hired in your ATS or an employee getting terminated from your HRIS).
Click Next to proceed to your Audience settings.
Choosing an audience
For manual campaign audience: if you selected a contact list based campaign, you will be prompted to choose an Audience List as your audience. Learn more here to build an Audience List.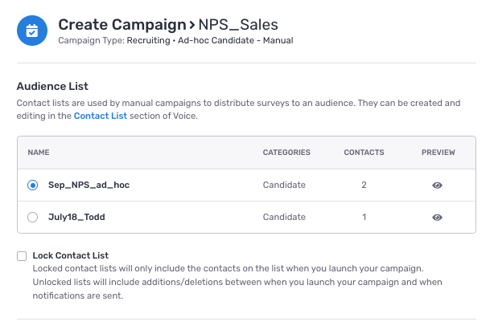 You have the option to lock or unlock your contact list:
- If unlocked, you can add more contacts to your list. And, these new contacts will also be sent a survey. Contacts can continue to be included in your campaign until the scheduled delivery of your survey.
- If locked, then any new contacts added to your list will not be included in your campaign. The survey will only be sent to the contacts who were part of the list when the campaign was created.
Within your audience settings, you can also configure survey responses to be anonymous or tied to an individual.

Note: anonymous surveys are not supported on new hire or employee exit campaigns.
When enabled, the anonymous campaign toggle will be green. This indicates that survey responses will not be tied back to an individual.
When disabled, the anonymous campaign toggle will be grey. This indicates that each response will expose the name of the individual who submitted the survey.
For triggered campaign audience: if you selected a triggered campaign, you can define your audience by a specific trigger and optional filters:
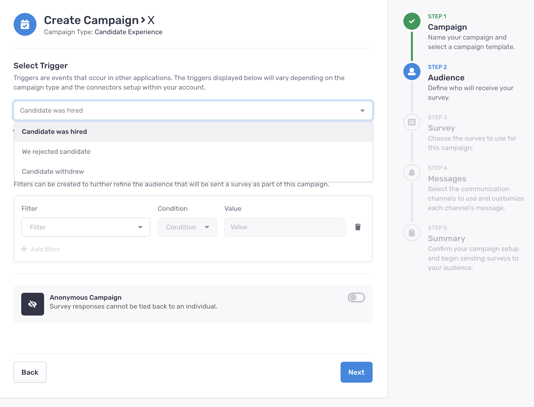
- Triggers are the actions that take place from an integration like an ATS or HRIS. When a contact from the integration satisfies this action, a survey will be sent.
- Filters are additional criteria that can further refine your audience. The filters are fields that originate from the third party application.
- The filter logic will apply an AND operator between different filter categories (e.g. Department, Stage).
- The filter logic will apply an OR operator between filters under the same category (e.g. filtering by two Stages).
Click Next to proceed to your Survey settings.
Choosing a survey
Once your audience is defined, you can select your survey. To learn more about surveys and building a custom survey, you can follow this article.
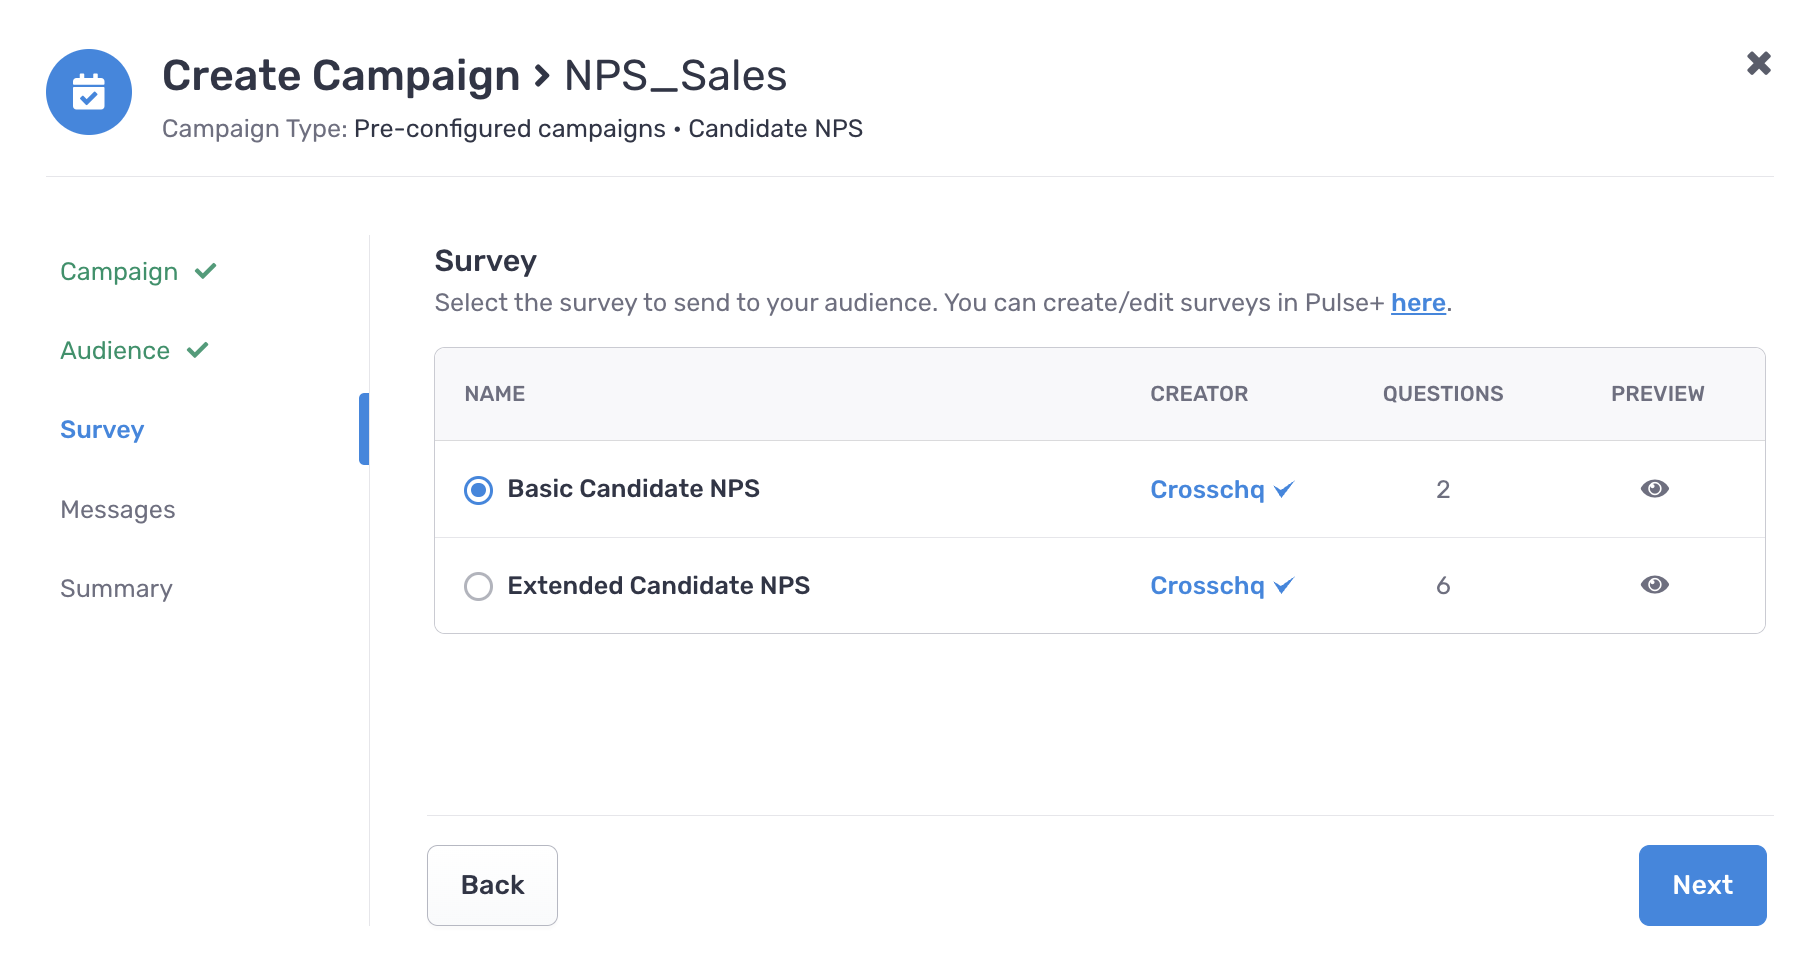
Clicking the icon from the "preview" column allows you to view how the survey will appear to recipients.
Note for Candidate Experience campaign types: If you selected a candidate experience campaign, you will be given an additional option to enable Glassdoor Reviews for any NPS promoters:
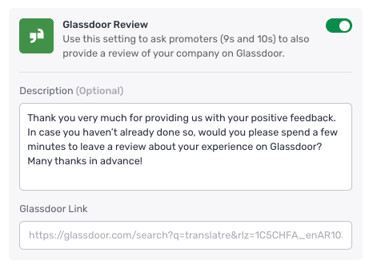
- The messaging you provide will be displayed to NPS promoters at the end of their survey. Enter the URL to your Glassdoor page to direct these recipients to the appropriate page in Glassdoor. Make sure the URL includes https:// or else you will be prompted with an error.
Click Next to proceed to your Messages settings.
Reviewing your messages
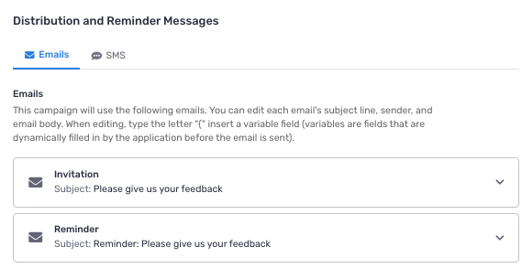
Within the Messages settings, you can edit the emails and/or SMS including when they will be sent to your audience. Crosschq provides two email and SMS types:
- Invitation - the first message asking the contact to complete a survey.
- Reminder - subsequent messages reminding the contact to complete a survey. Reminder messages are optional.
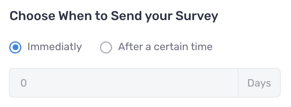
Select Immediately if you want your invitation email to be delivered to a contact as soon as a trigger is satisfied for a triggered event campaign. For a manual campaign, the survey will be sent to your contacts as soon as the campaign is created.
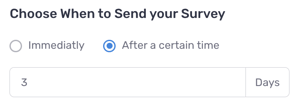
Select After a certain time and a corresponding number of days to delay when your survey is sent.
Delayed surveys will use the following logic:
- Candidate Experience and Hiring Manager Experience campaigns will delay surveys based on candidate's hired date
- Quality of Hire campaigns will delay surveys based on the employee's start date. If no start date is available, we will use the hired date.
- New Hire campaigns will delay surveys based on the employee's start date.
- Employee Exit campaigns will delay surveys based on the employee's termination date.
You can enable reminders if you would like to send additional emails to contacts who have not yet completed your survey. You can select how many reminders and the frequency for when they are sent:

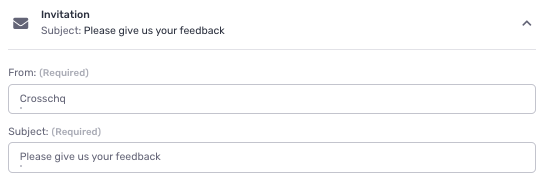
At the bottom of the Messages settings, you can view and edit the Invitation and Reminder messages:
Clicking the caret at the right will expand and allow you to edit different components of your message. The first two fields you can edit are the organization (the "From" line) and the subject.
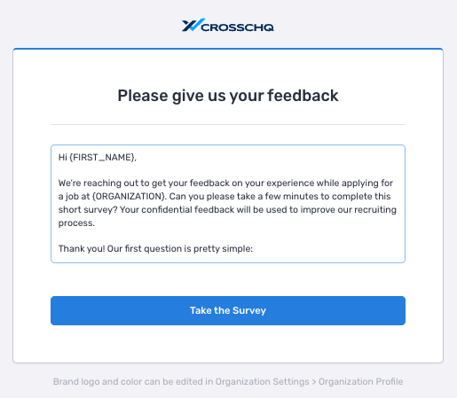
The third area allows you to edit the body of the email.
Within the email body, Crosschq supports email variables to allow you further customization. View this article for a list of our supported variables. Alternatively, enter a curly bracket "{" in the message body to review a list of supported variables.
We highly recommend reviewing this article before applying email variables to your messaging.
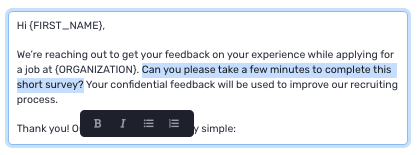
Additional mark-up options are available by highlighting sections of the message:
If you have created a message template, you can apply your template by clicking the Notification Templates dropdown (learn more here to build a message template). Afterward, your template will be applied to the Invitation and Reminder components of the campaign.
![]()
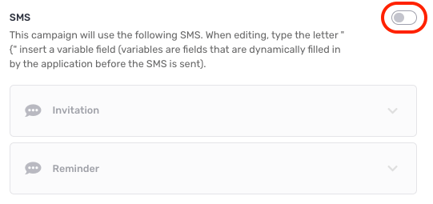
By default, SMS invitation and reminder notifications are enabled and can be edited the same way as email messages. To disable SMS, click the SMS tab and select the toggle on the right so that it no longer is green:
Lastly, you can click Sent Test Messages to be emailed a preview of how your survey message will appear for your recipients.
![]()
Click Next to view a Summary of your campaign.
Reviewing your campaign
The last step is to review how you configured your campaign:
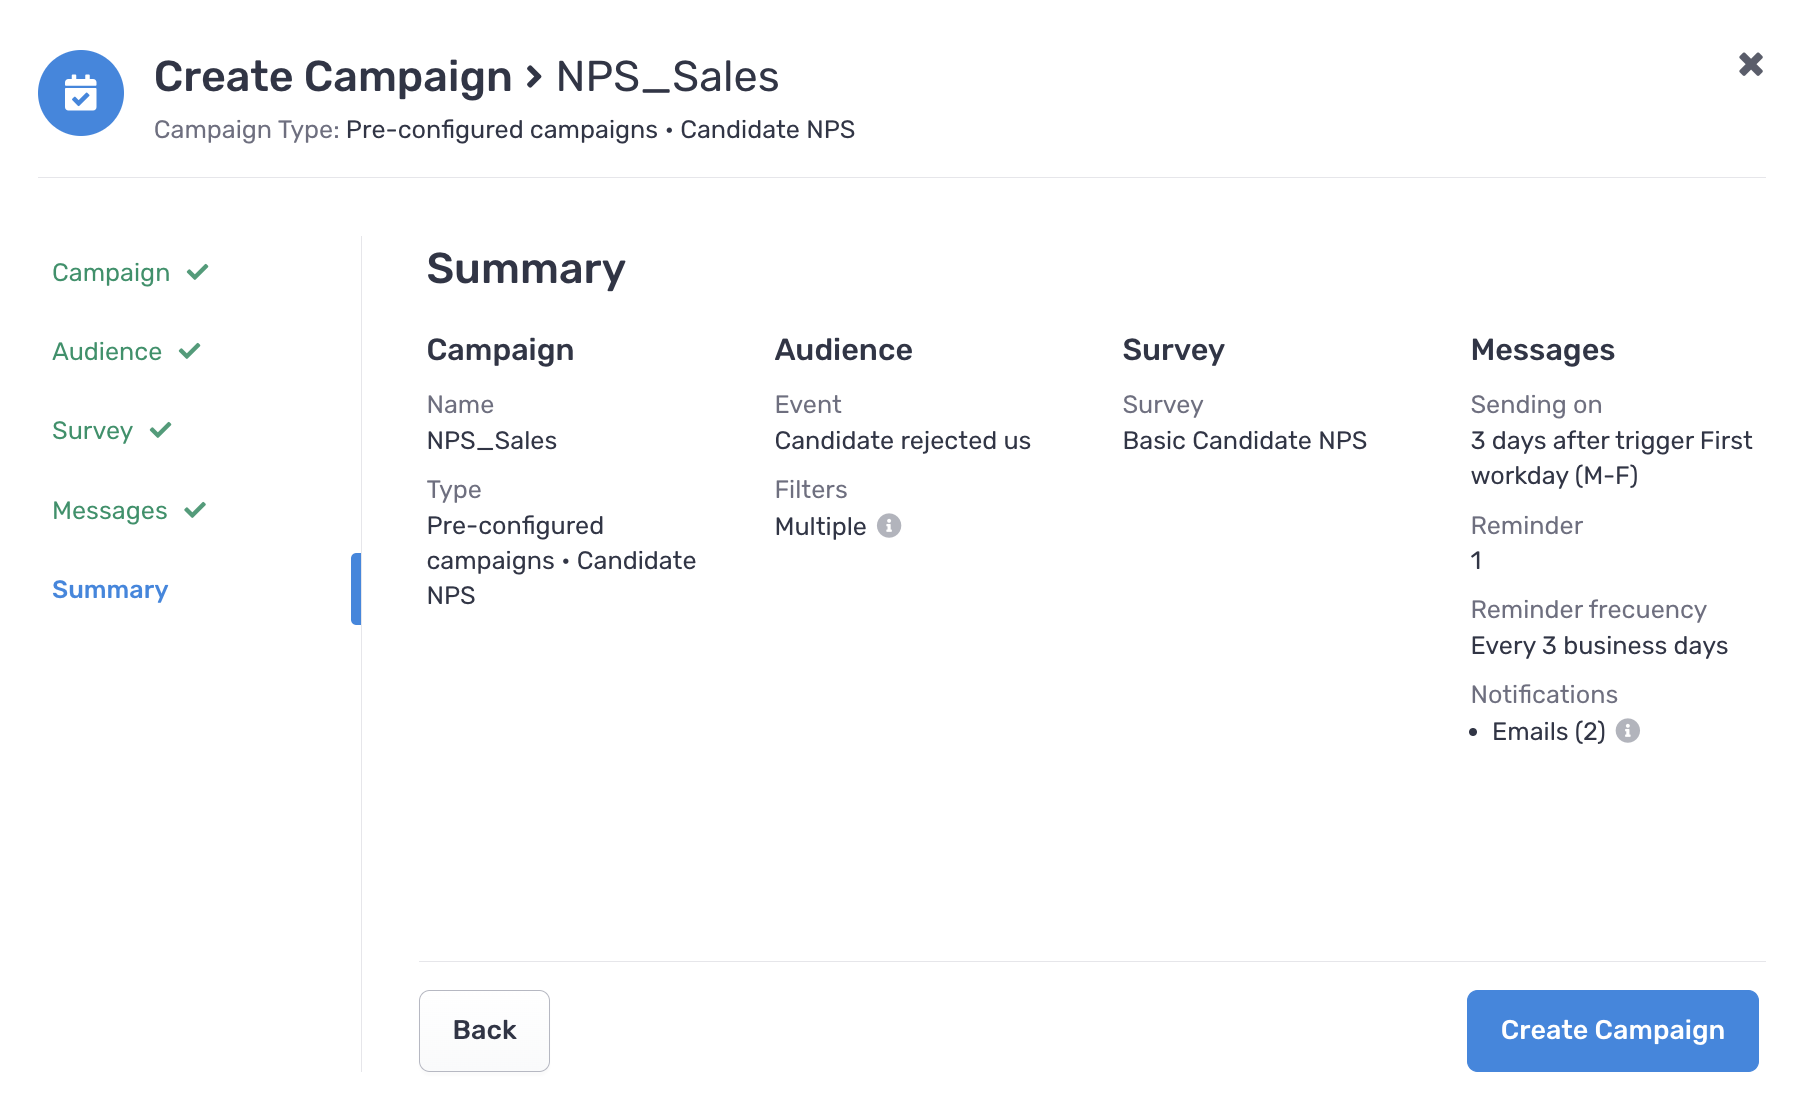
If you need to edit any parts of your campaign, you can click the Back button to make any changes. If your campaign is ready, then select Create Campaign.
Once created, your campaigns can be tracked from the Campaign Manager section of Voice.