Users with administrative permissions can edit Crosschq organization settings. To edit these settings, click Organization Settings from the main menu.
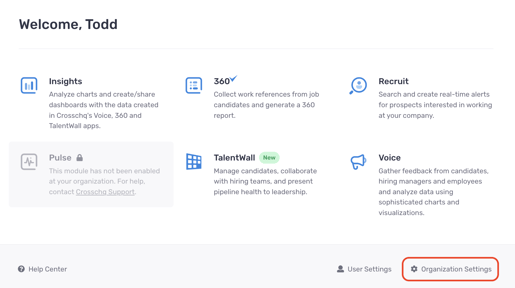
The Organization Settings menu contains a number of items for you to explore and edit:
- Organization Profile
- Branding
- Users and Permissions
- Security
- Connectors
- Team Management
- Event Log
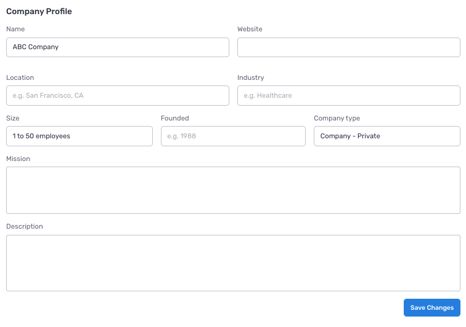
Organization Profile
Here, you can enter information about your company. We recommend filling out this page as this information is exposed to both candidates and references so they have context on who the Crosschq request is being sent from.
You can use the AI auto-fill option to pre-fill the information fields in Crosschq. The LLM Scraper will fetch company data to populate your profile.
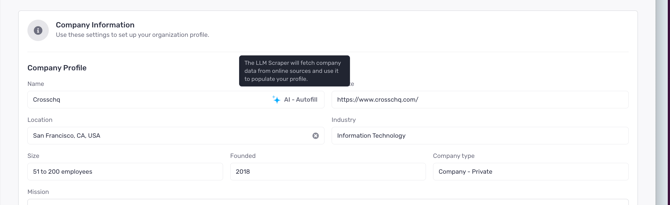
Click the AI - Autofill button to enable an update of your Crosschq Organization profile with the information.
Branding
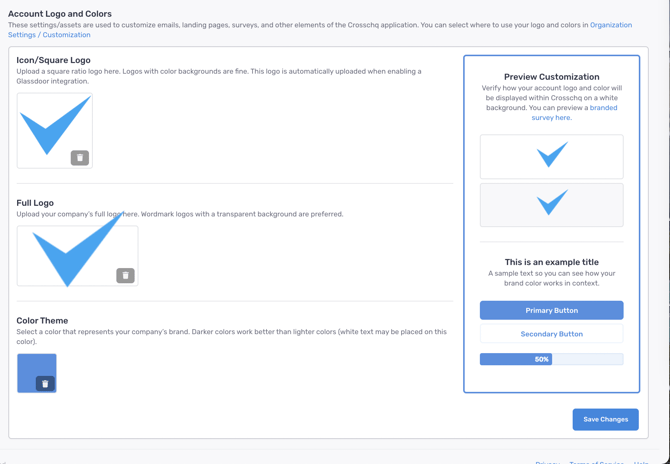
Within the Brand Identity settings, you will have a chance to upload your company logo and personalize your account.
To begin, upload your organization's logo into the Icon/Square logo section. Select the image you want to upload, save it, and then select upload.
Then you will have the option to upload your organization's full logo. Select the image you want to upload, save and then select upload.
Finally, select the color you would like to utilize for branding/customization purposes. On the right side, you will be able to see a preview of what the account will look like. Click the link to preview a branded survey.
Please keep in mind the following when customizing branding:
- The file size should be less than 1.00MB in both cases (Icon/Square vs. Full Logo).
- The Icon ratio is 1:1 (square).
- The full logo ratio is variable (customers can set this up using the uploader tool).
- PNG files with transparent backgrounds are permitted.
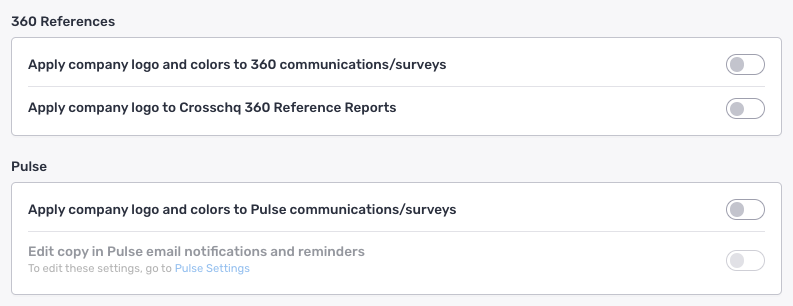
Below the logo and color theme section are additional settings to control the way your surveys and reports will appear to candidates and references.
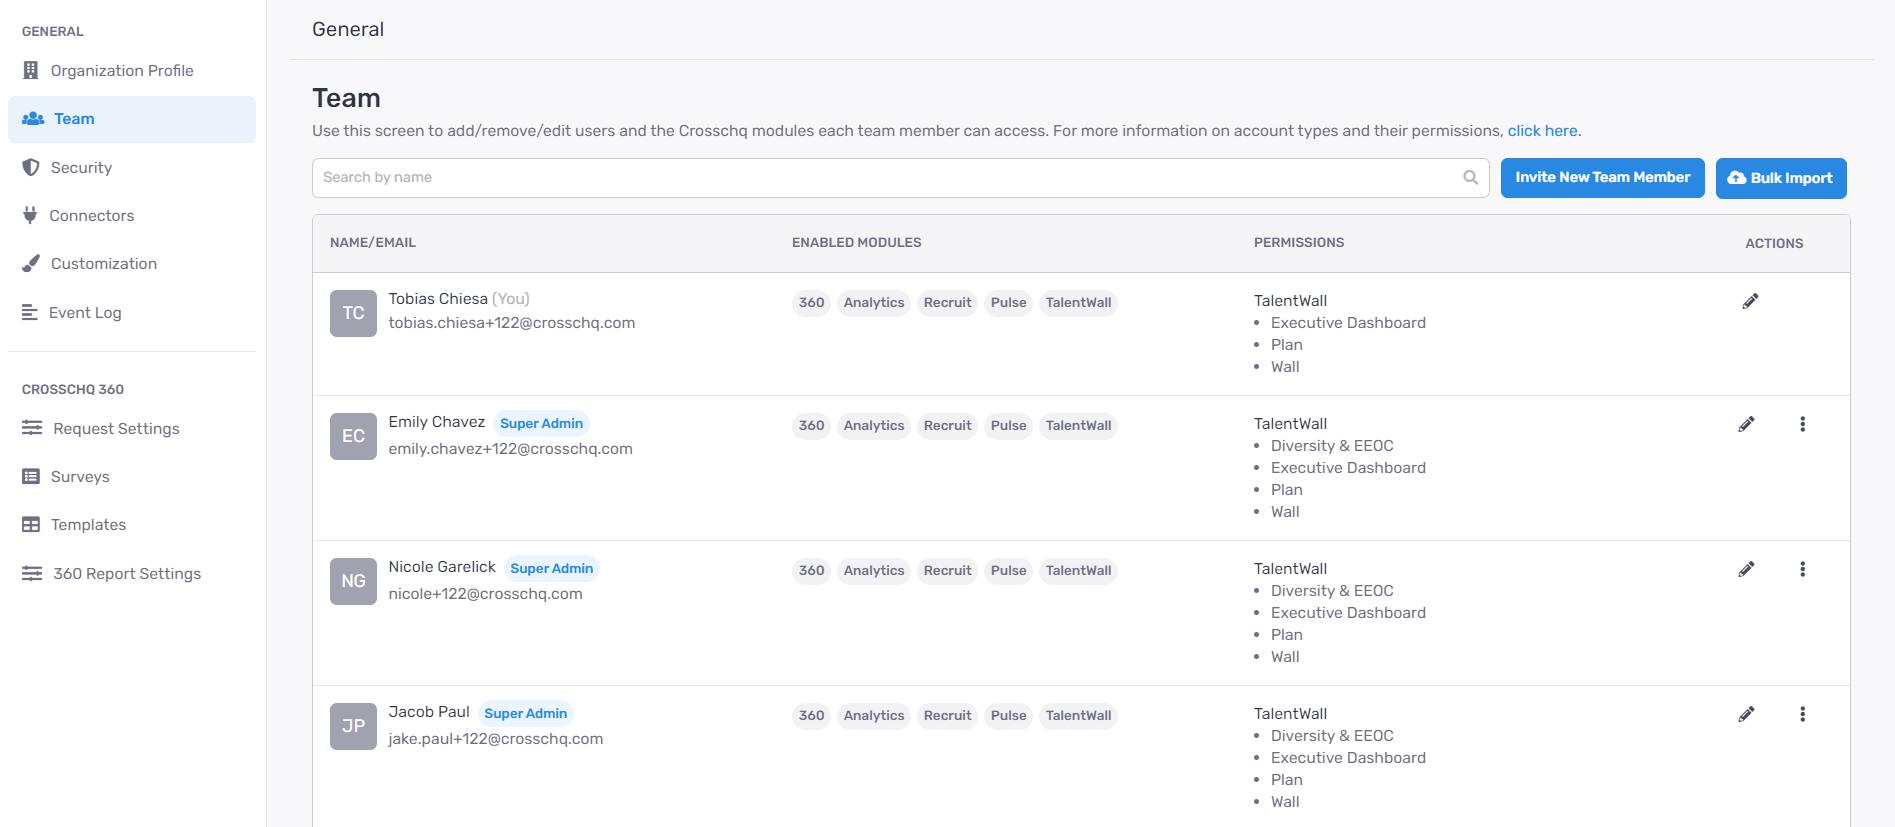
Users and Permissions
Here, you can manage user accounts for your team. Learn more in the User Types and Permissions article.
Security
Within the Security section you will be able to enable SSO for your organization. For more information on how to do so, click here.

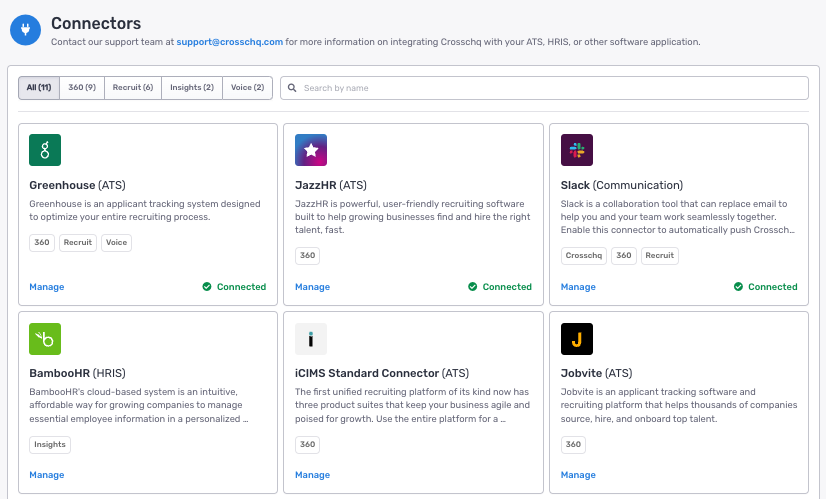
Connectors
For more details on how to manage your Connectors, reach out to support@crosschq.com or visit the Connectors section of the knowledge base.
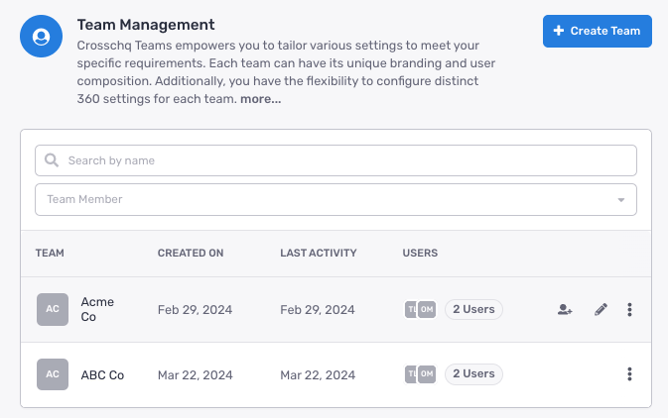
Team Management
The Team Management settings allow you to create separate teams within your Crosschq instance. This setting is accessible by Super Admin users. Visit this article to learn more about teams.
Event Log
The Event Log tracks activity across your Crosschq organization. To access it, navigate to Organization Settings > Event Log.
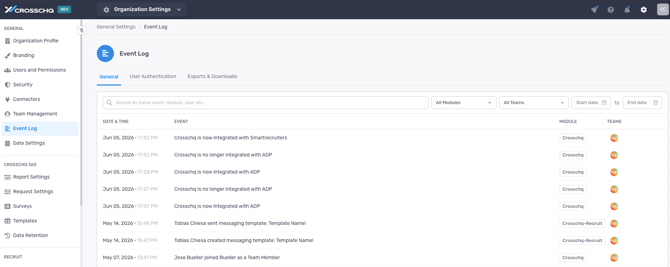
The Event Log is organized into three tabs:
General
Displays a record of all organization-level events, including user access changes, reference request status updates, and team activity. Each entry shows the Date & Time, the Event description, the Module, and the Teams involved. Use the search bar and filters to narrow down results by module, team, or date range.
User Authentication
Displays a record of all login and logout events for users in your organization. Each entry shows the Date & Time, the Event description including the user's name and IP address, and the Teams they belong to. Use the search bar to filter by name, event, module, or user, and filter by team or date range using the controls at the top.
Exports & Downloads
Displays a record of all data export and download events performed by users in your organization, allowing administrators to audit data access.